

The digital guide in front of you will help you explore the Outdoor Museum Kolovrat independently. It will guide you through an extensive network of multi-level firing and communication trenches, command and observation posts, machine-gun and artillery positions, and caverns. The guide combines useful information for visitors, a map of the route with a GPX track, and 8 information points with images, as well as additional benefits for visitors.
By purchasing it, you contribute to the preservation of the heritage of the Isonzo Front – the Outdoor Museum Kolovrat, which is managed by the Walk of Peace in the Soča Region Foundation from Kobarid.
Equipment: hiking clothing and footwear, flashlight.
In summer months, sun protection and plenty of fluids are recommended,
while in colder months, warmer clothing and a windproof jacket are advised.
Access: from the directions of Tolmin, Kobarid, or Cividale del Friuli/Čedad.
Open in Google Maps >>
Parking: free of charge right next to the Museum.
Additional information: at the Walk of Peace Info Point on Kolovrat (open from May to September).
Duration: 1–2 hours
Difficulty level: easy
Total length: approximately 1 km
Elevation difference: approximately 130 m
Restrictions: not suitable for persons with reduced mobility
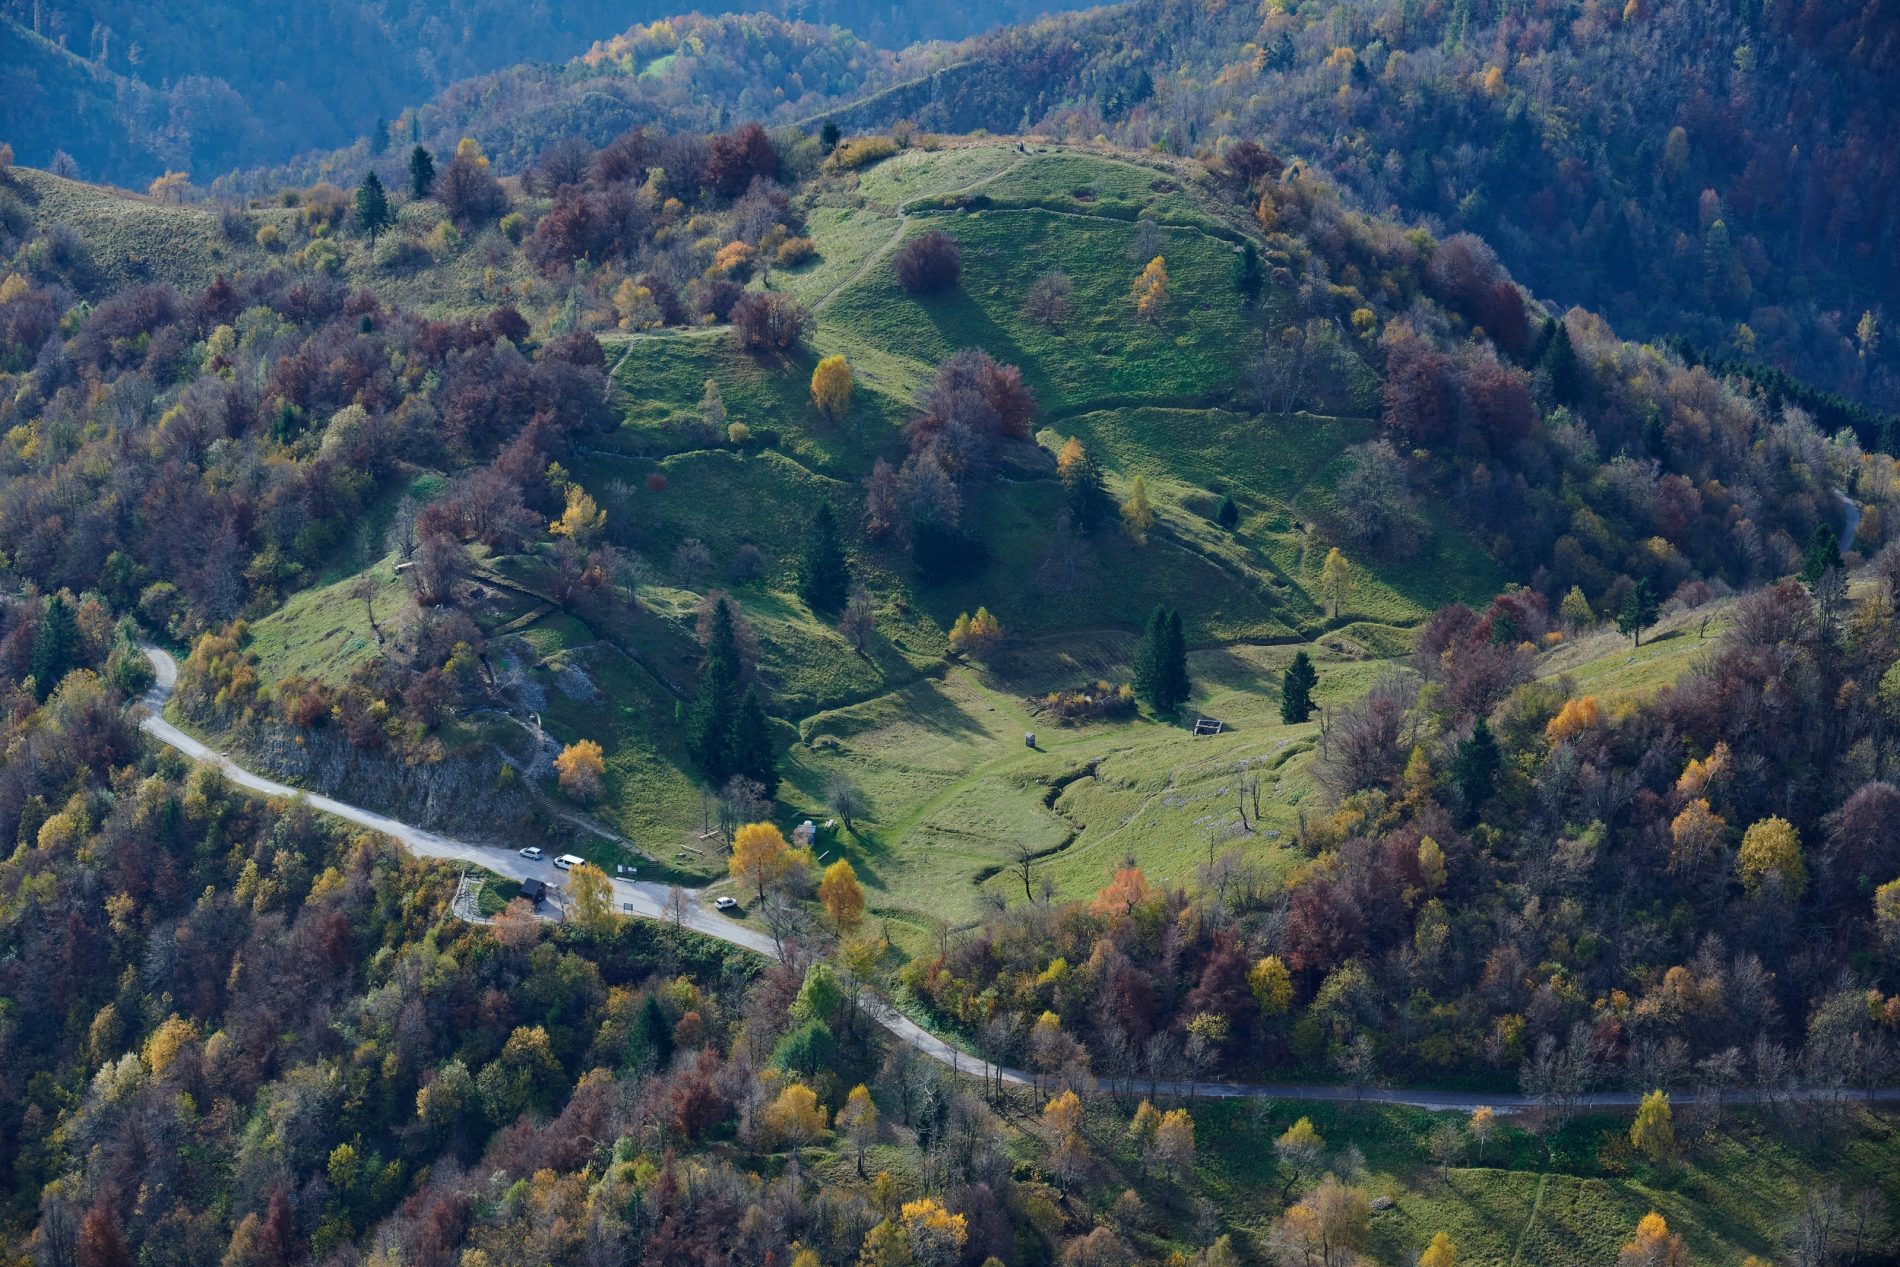
Outdoor Museum Kolovrat is one of the most visited and best-restored points along the Walk of Peace from the Alps to the Adriatic, offering visitors panoramic views of the entire former front-line area, from Mt. Rombon above Bovec to the Gulf of Trieste.
Before World War I, the ridge of Kolovrat marked the border between the Austro-Hungarian Monarchy and the Kingdom of Italy. At the outbreak of the war in 1914, Italy initially remained neutral but joined the conflict a year later and attacked Austria-Hungary in May 1915. The Soča River and the hills above it became the scene of the Isonzo Front, a 90-kilometre-long battlefield along the southwestern border of the Austro-Hungarian Monarchy.
The Austro-Hungarian Army established its defence line along the Krn mountain range on the left bank of the Soča (Isonzo) River. The Kolovrat ridge on the opposite side was occupied by the Italian Army, which built a fortified defensive line there. Within the system of Italian positions in the Upper Soča Valley, this was the third line of defence and an important strategic position with trenches, cavern, shelters, and observation posts.
The Italian Army used the positions on Kolovrat until the Twelfth Isonzo Battle in October 1917. At that time, Austria-Hungary, with the support of its ally, Germany, launched a powerful attack on the Italian positions in the Soča Valley. In just two days of fighting, German units occupied the Kolovrat ridge, after which the war moved onto Italian territory. The breakthrough of the Italian defence line in the Upper Soča Valley during the Twelfth Isonzo Battle marked one of the most dramatic turning points of the entire World War I.
The remains visible in the museum today provide insight into the appearance and functioning of the Italian Army positions on the Isonzo Front. They reflect the harsh reality of mountain warfare – exposure, isolation, and the strategic necessity of fighting in such an environment.
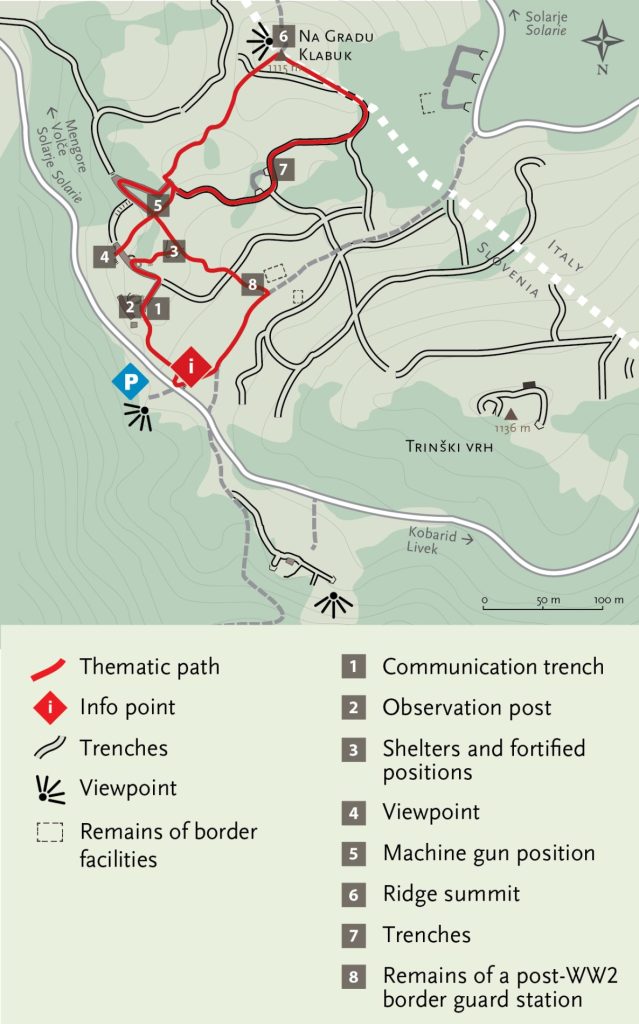
From the parking area, head towards the Info Point and climb the stairs. At the first junction, continue to the right and proceed to the first point.
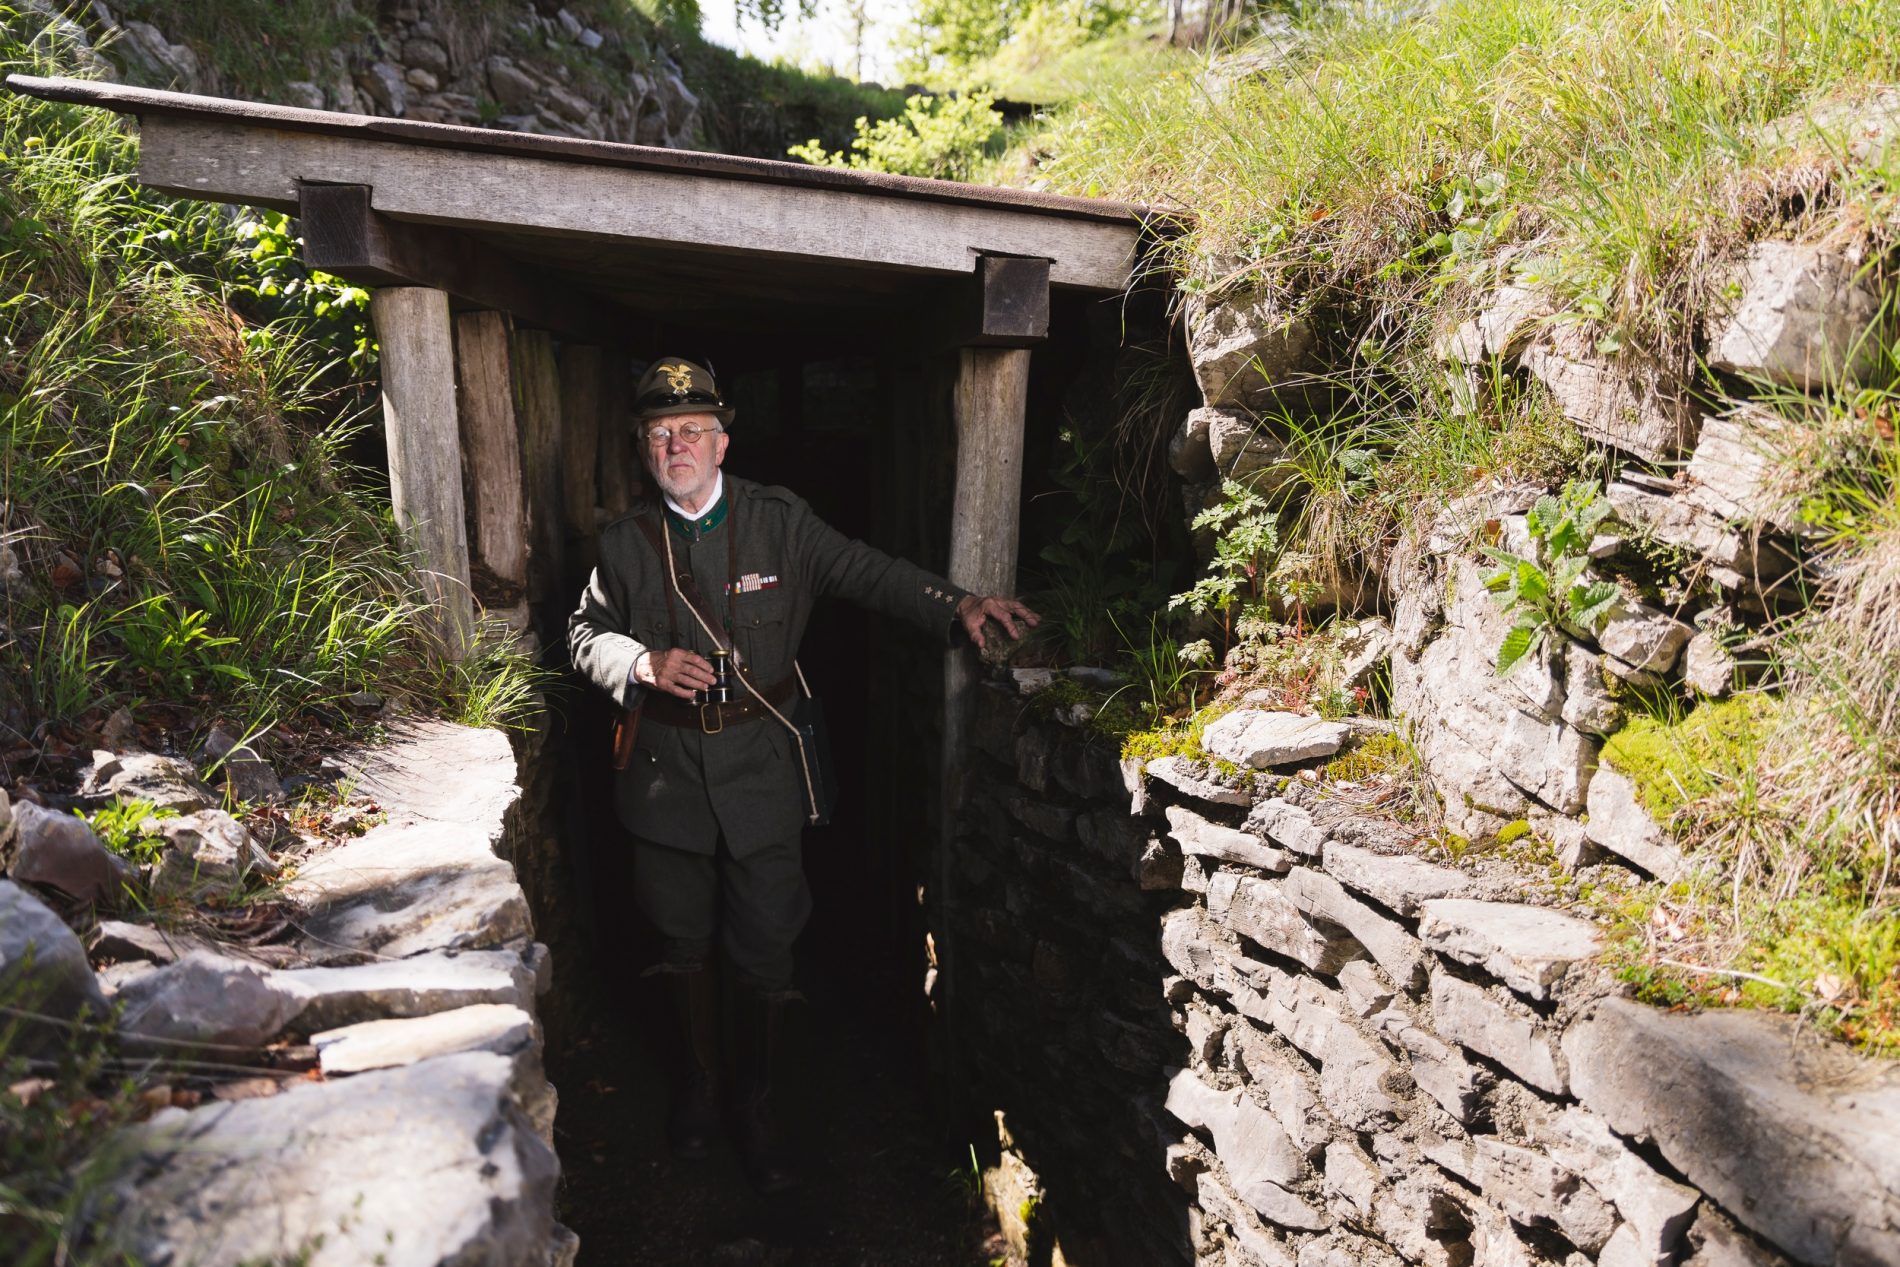
Communication trenches were crucial for soldiers, as they allowed safer movement between the front firing line and the rear positions.
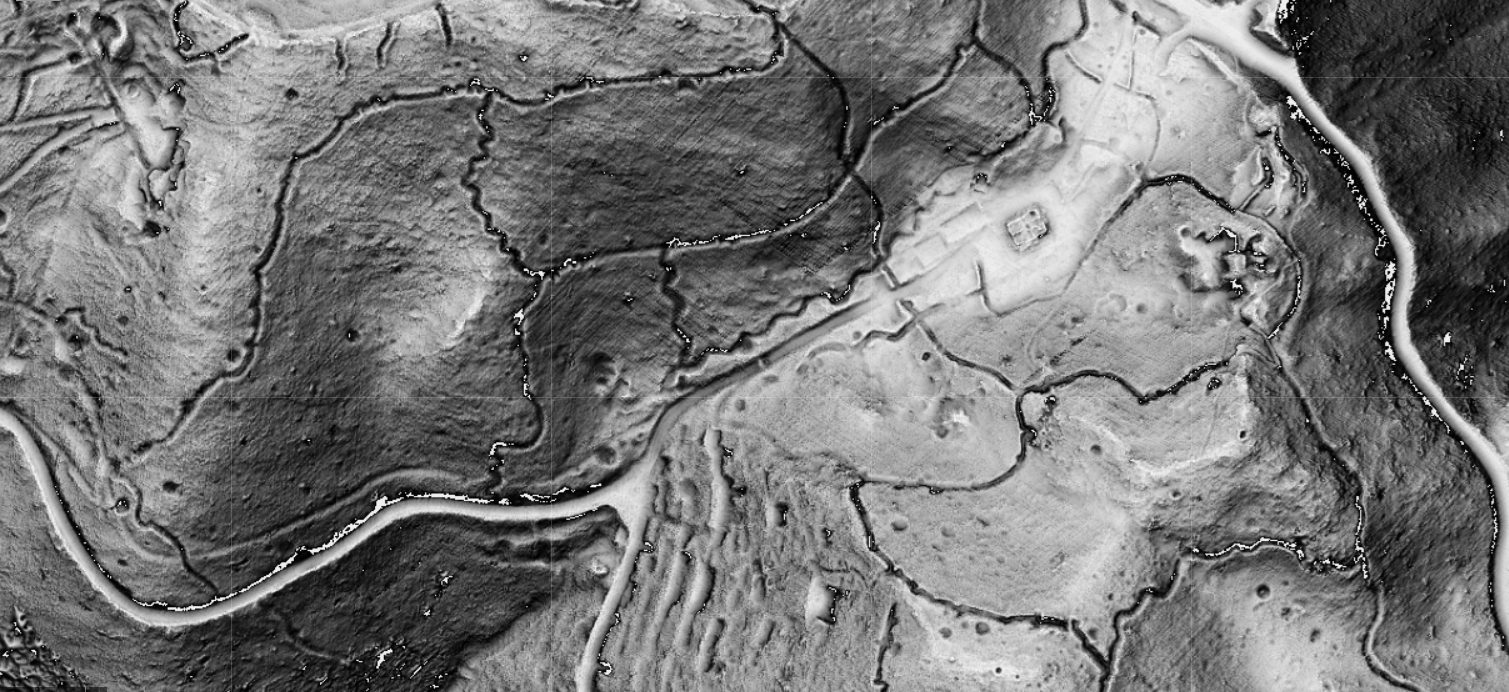
This area was heavily shelled during the Twelfth Isonzo Battle. The intensity of the bombardment is still visible in the landscape today, as shown by the lidar image with numerous explosion craters.
Through shelling, the enemy aimed to prevent reserve units from reaching the front line.
Prepare your flashlight. In the trench, at the first junction, turn left and keep to the left.
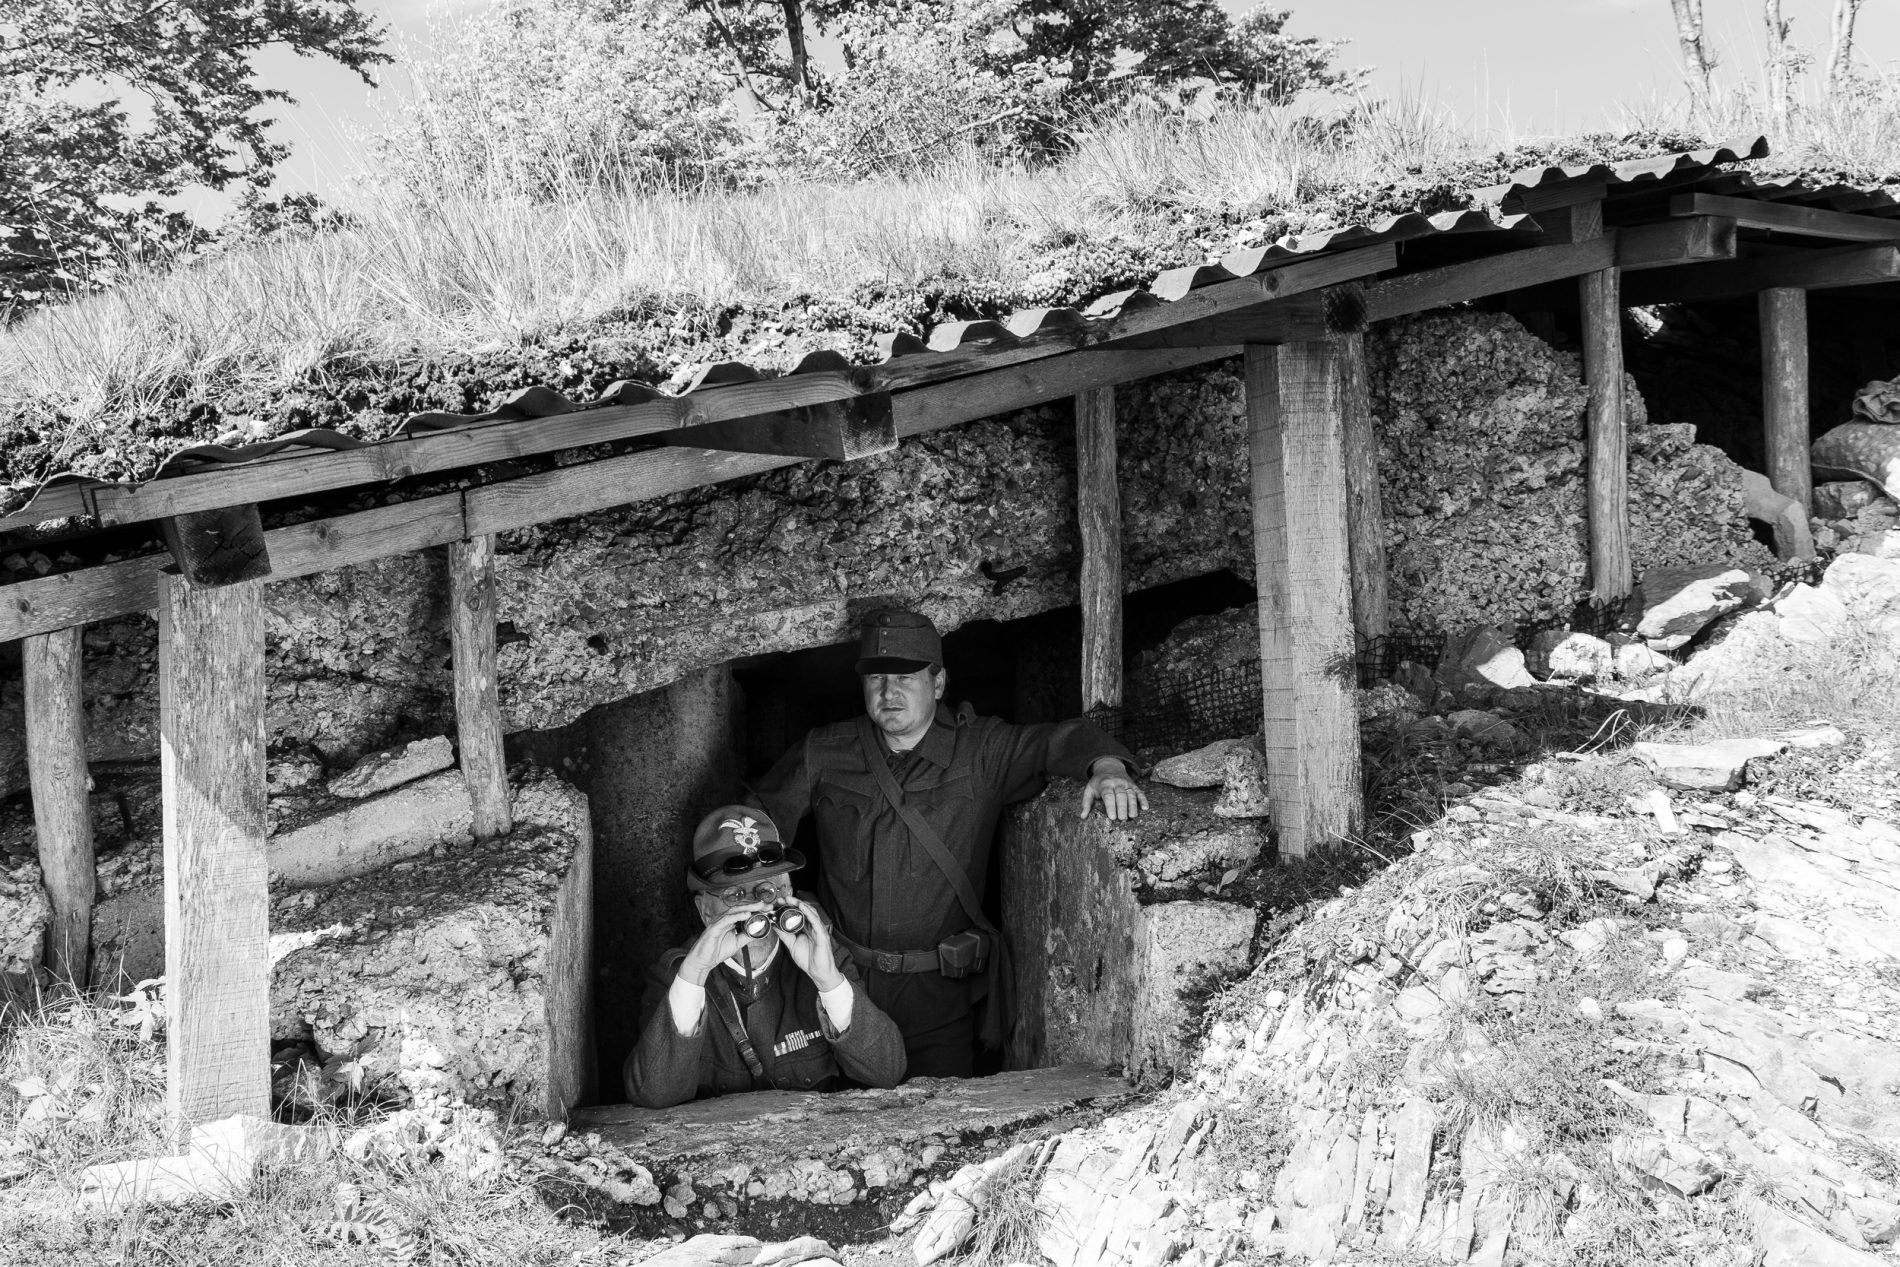
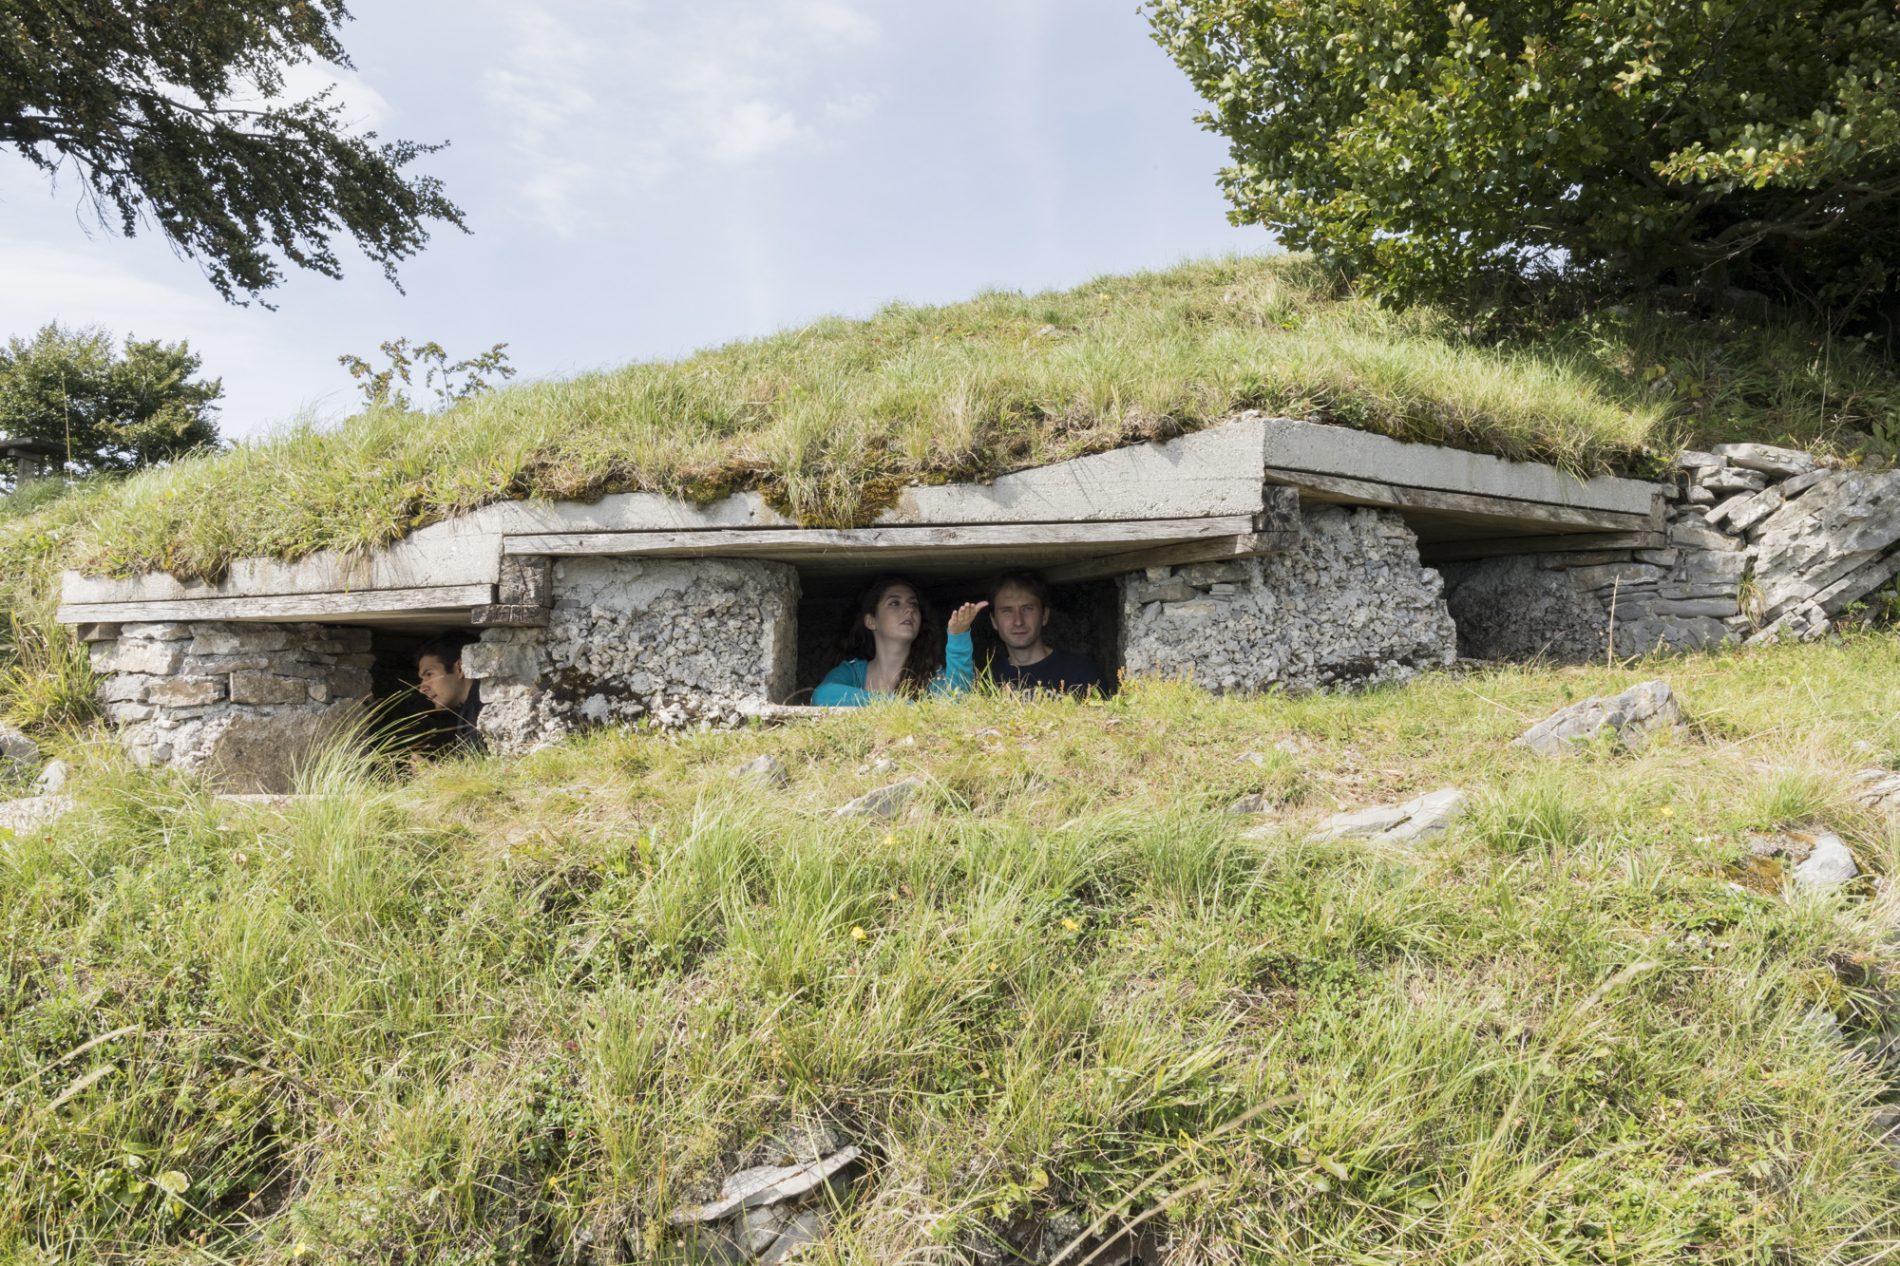
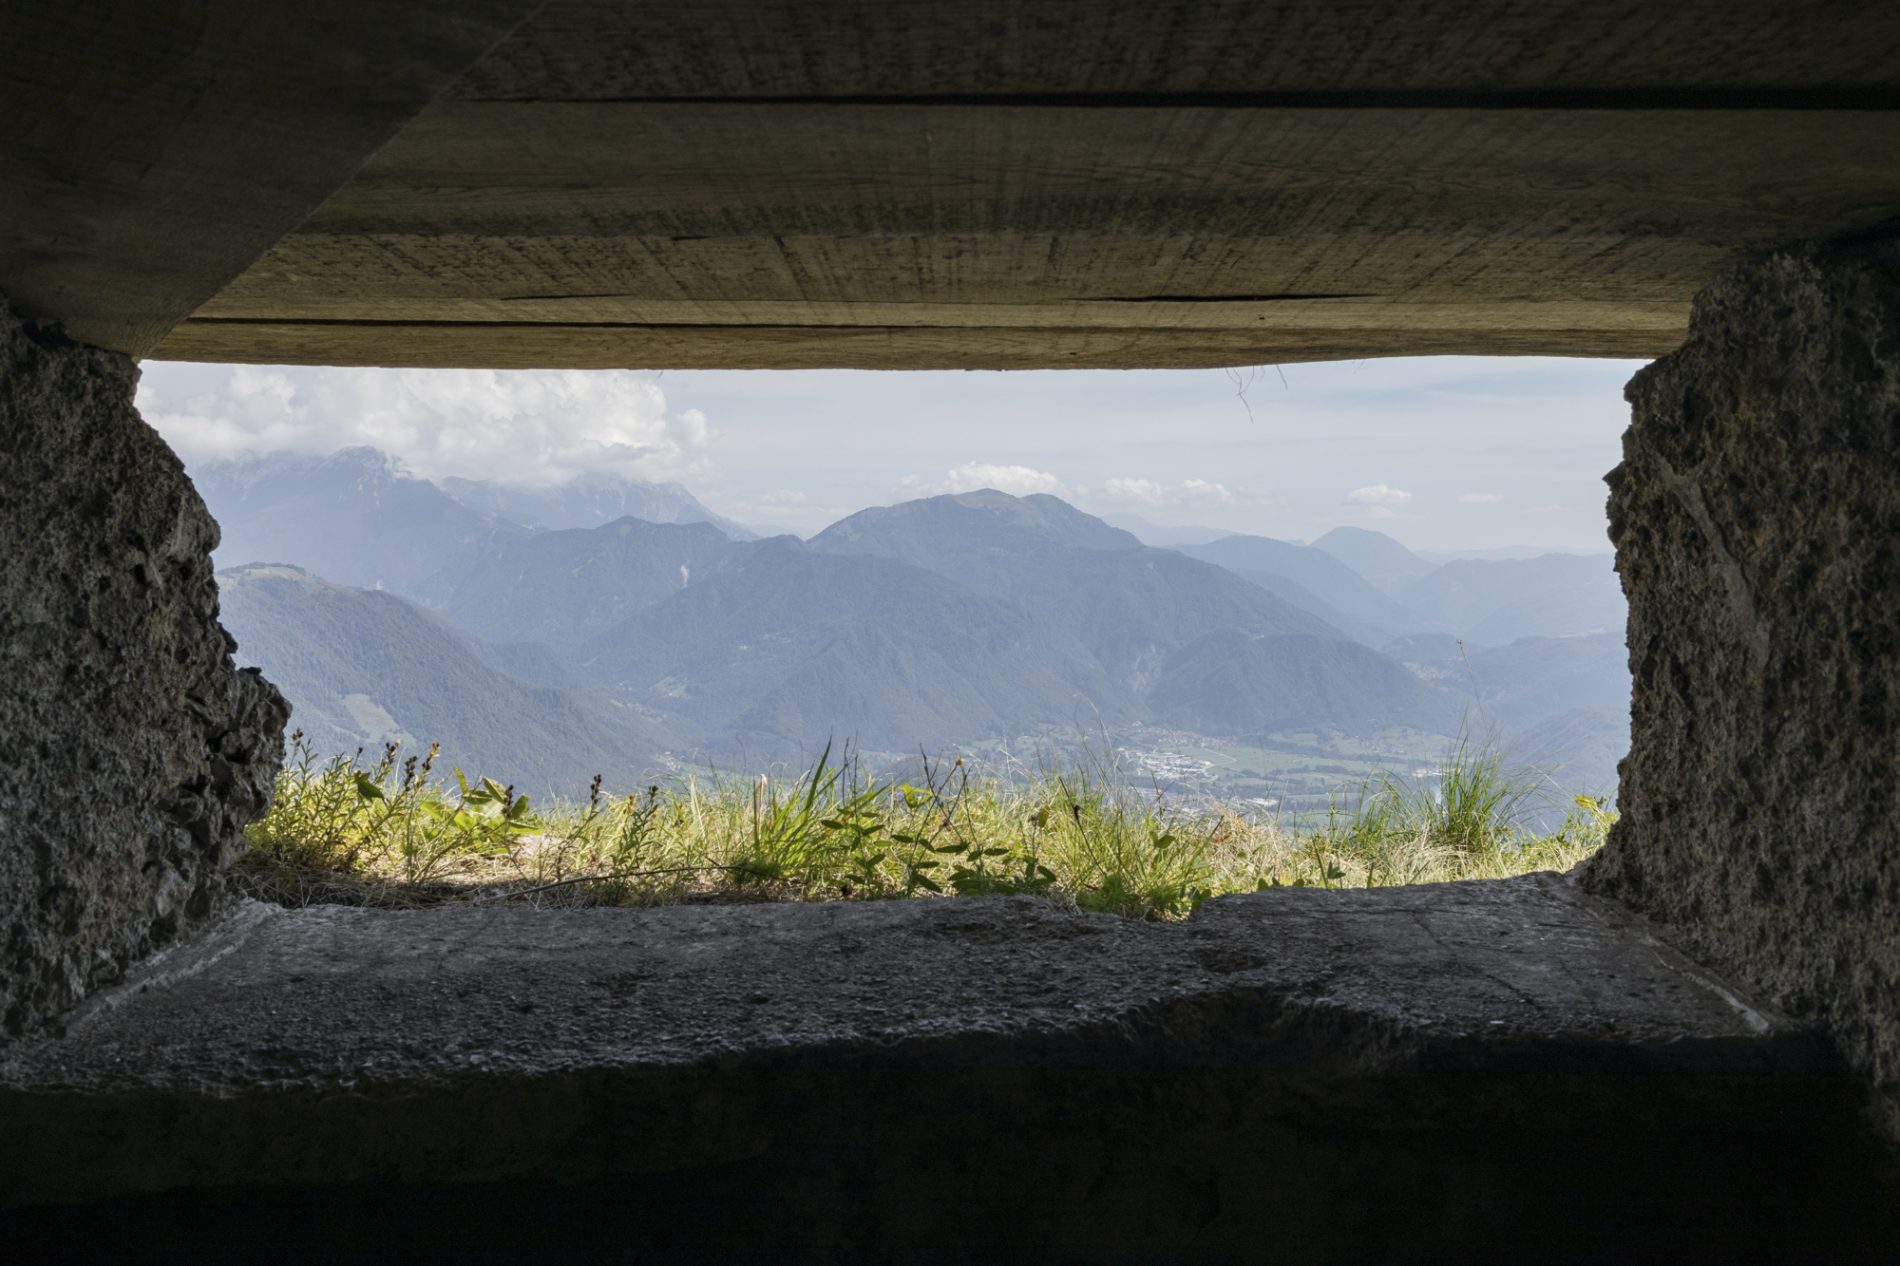
This viewpoint served for observing and monitoring enemy movements and for directing artillery fire.
Observation posts were built at locations along the ridge that allowed the Italian Army to control :
Austro-Hungarian positions on the Tolmin bridgehead,
Kozlov Rob and Mengore hills,
the front line in the mountains: Mt. Mrzli vrh, Mt. Sleme, and Mt. Batognica.
Each observation post was equipped with binoculars and a telephone connection to the artillery units and the command headquarters.
This allowed them to simultaneously direct artillery fire and observe the movements of the enemy troops.
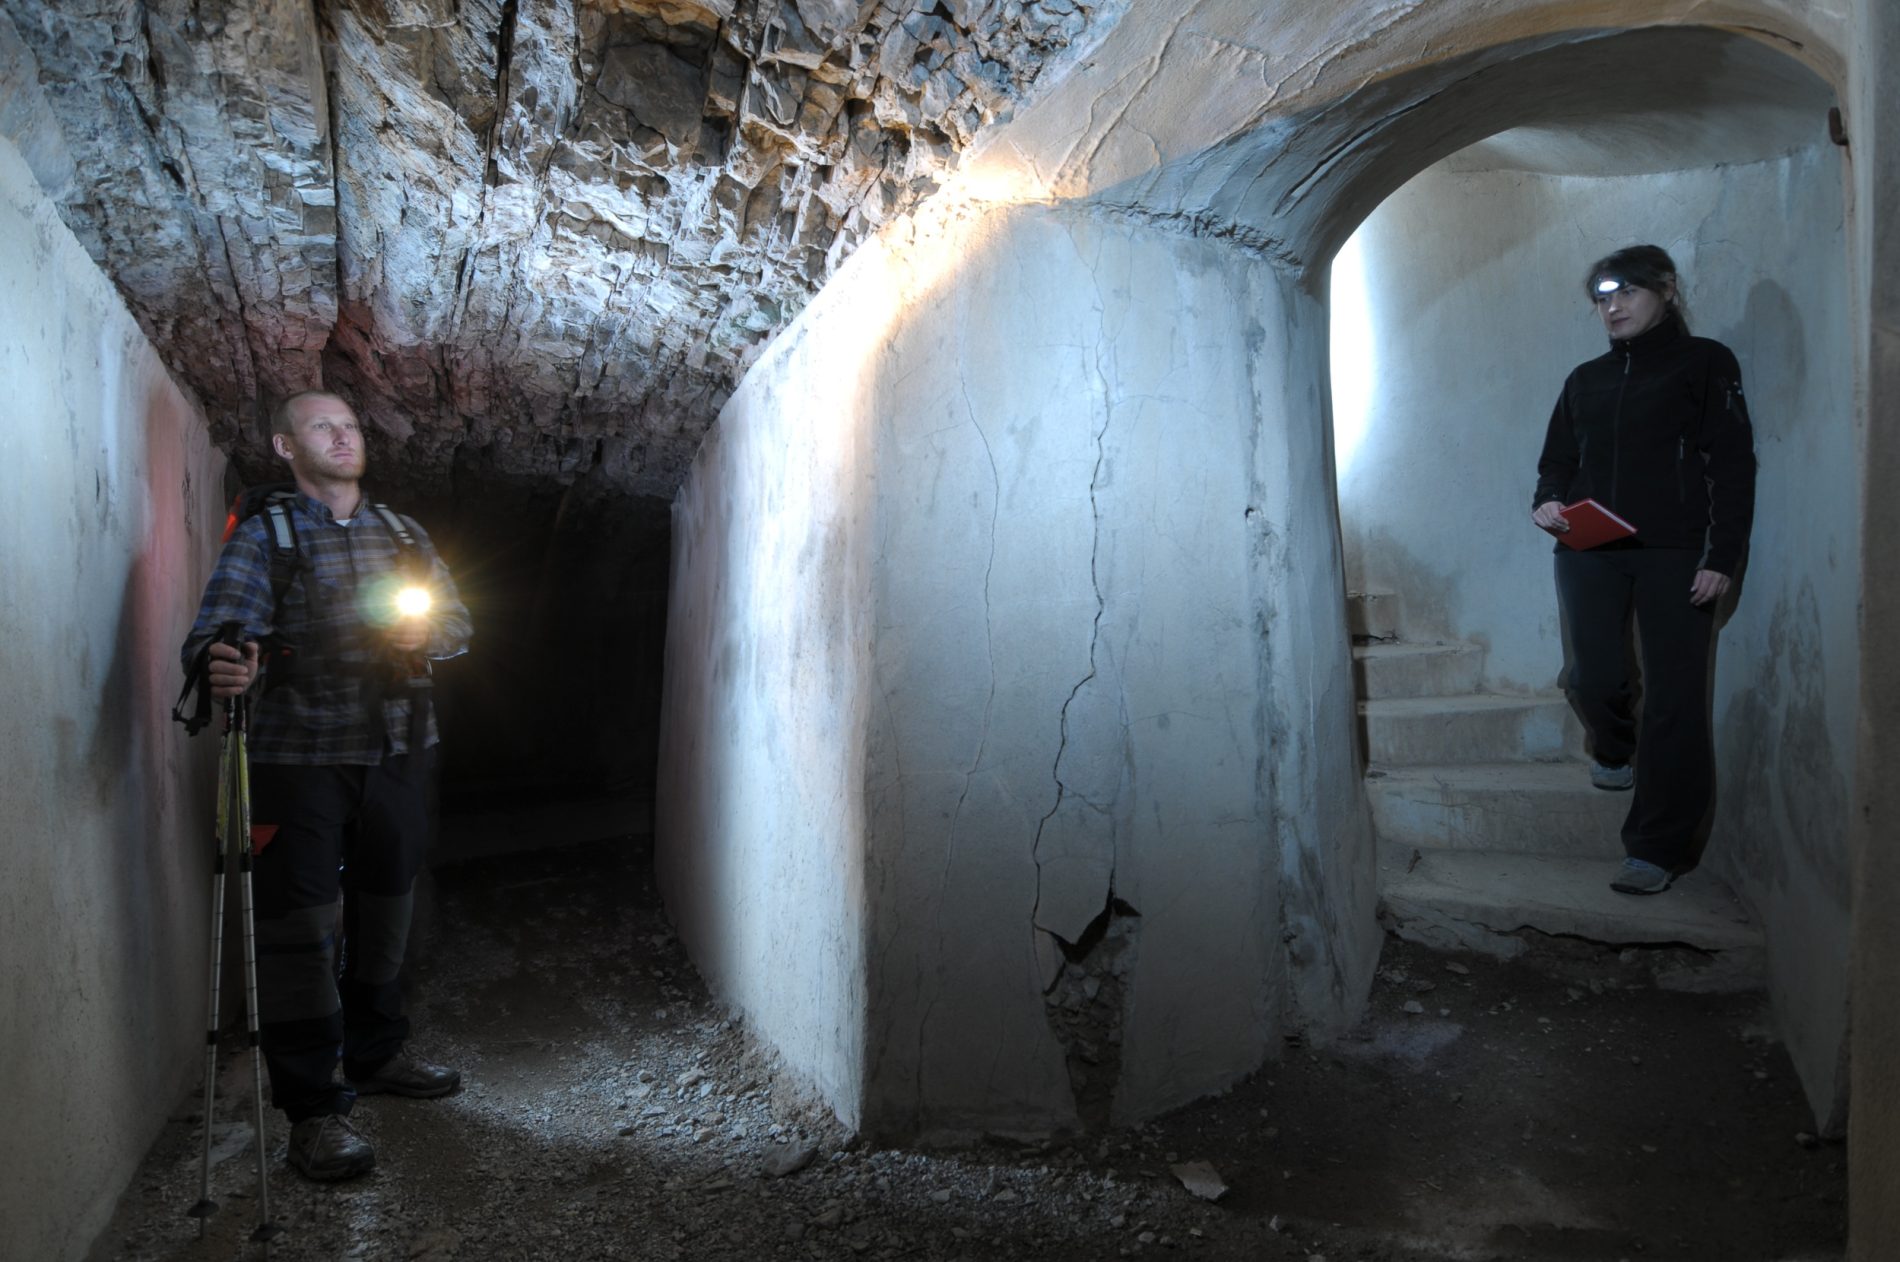
Follow the signs and return to the communication trench, where you turn left. At the junction, keep left and follow the trench to the entrance of the cavern. Descend the spiral stairs through the cavern and continue to the exit.
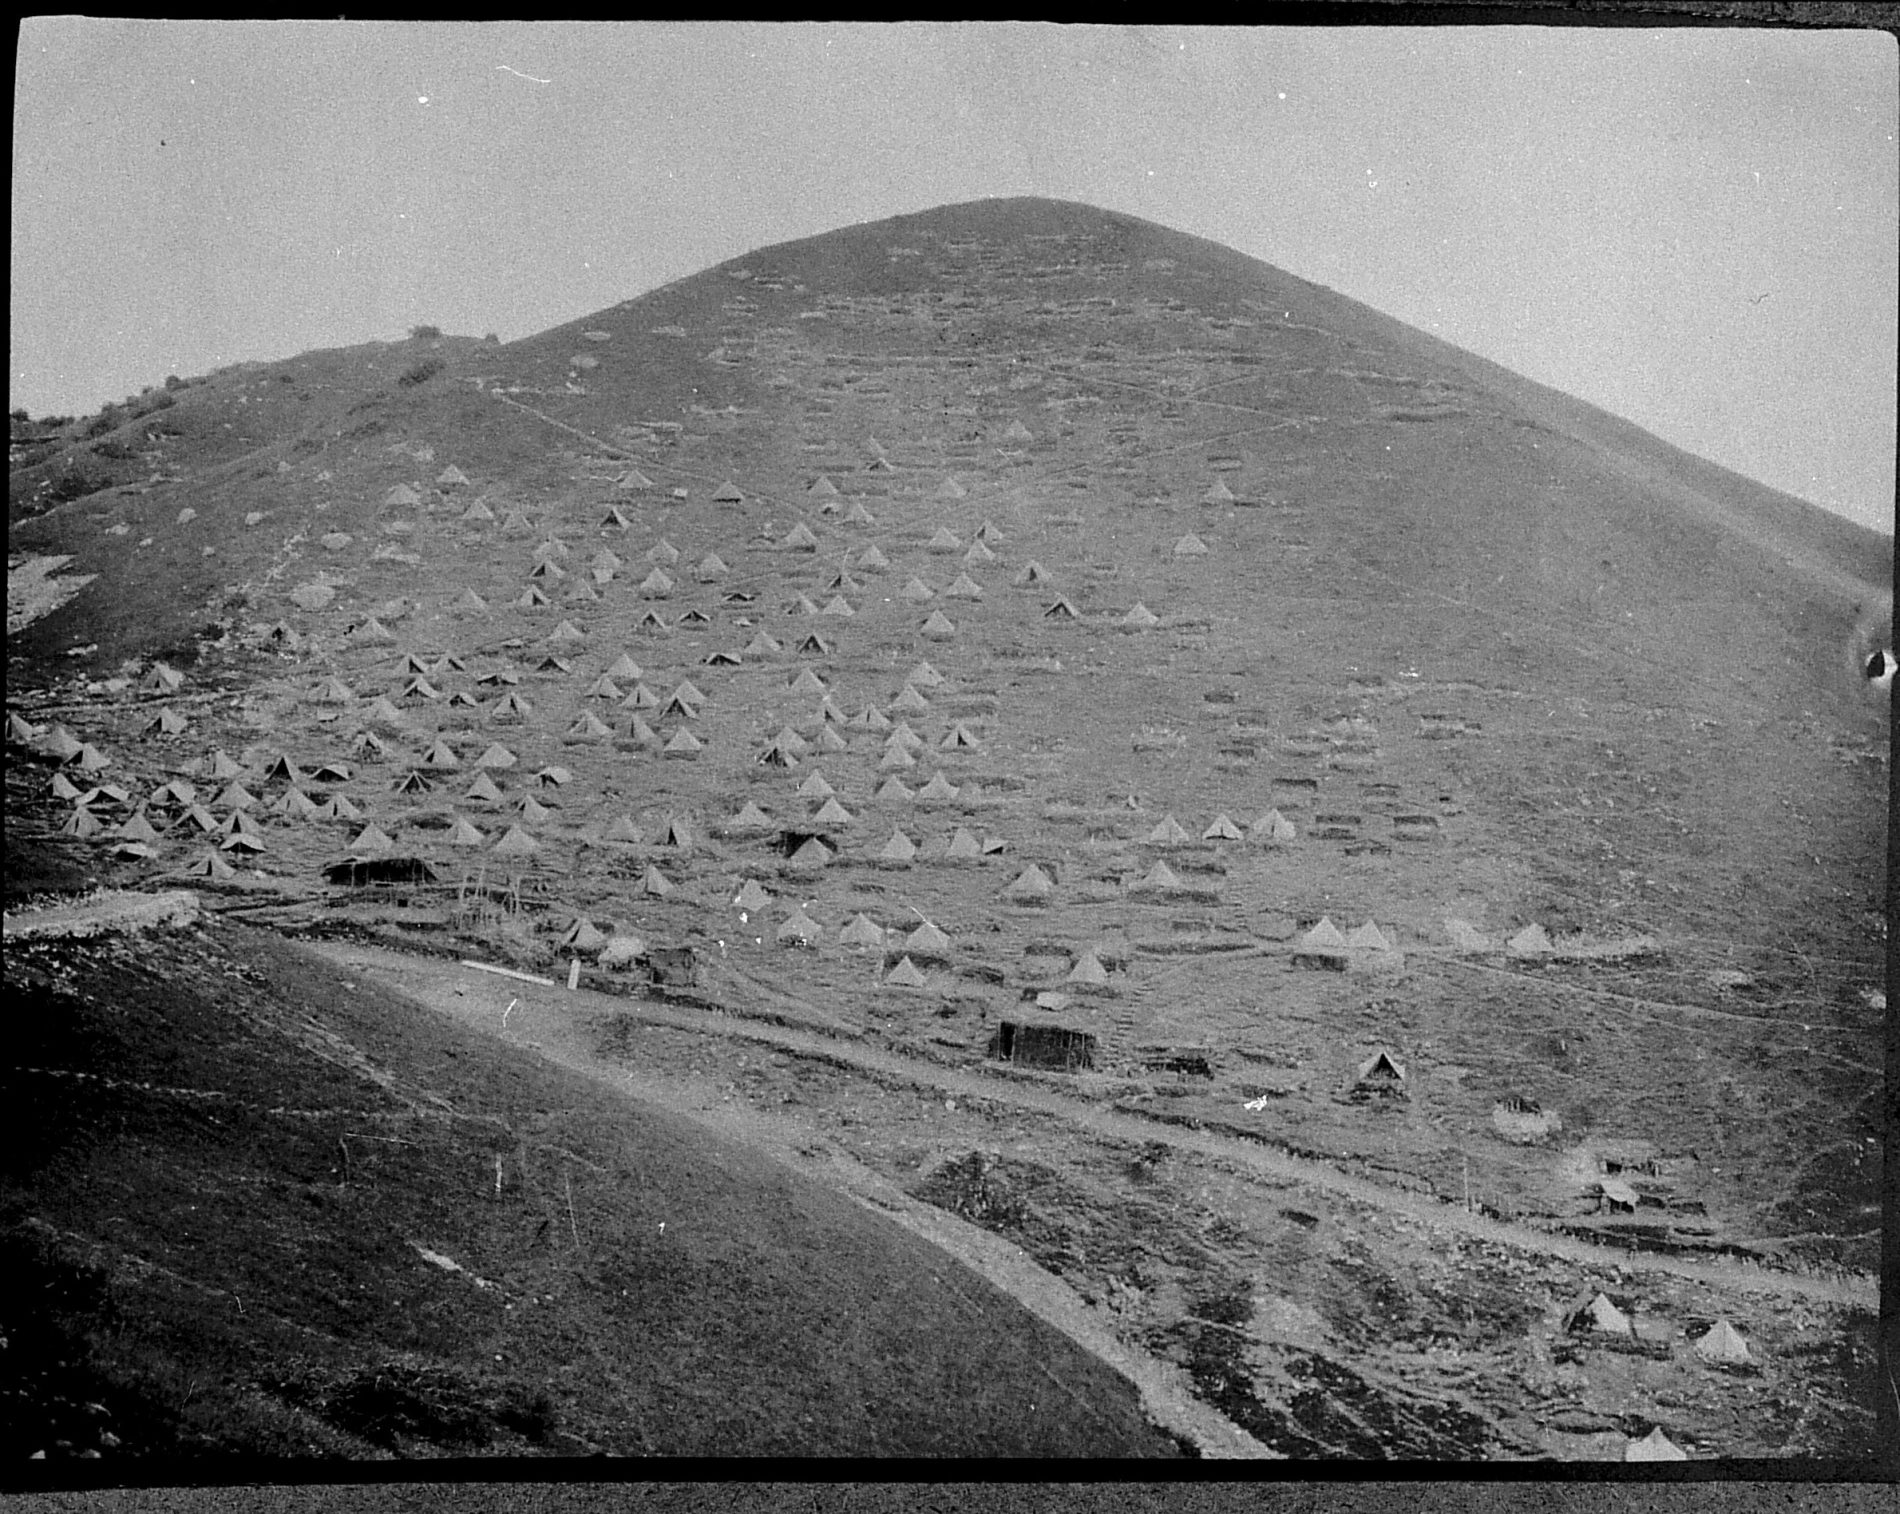
These spaces served as living quarters for soldiers and as storage areas for equipment.
There were no direct clashes on Kolovrat until the Twelfth Isonzo Battle, so most soldiers lived in barracks and tents on the southern slope of the ridge.
Caverns were used during artillery bombardments of the positions. These underground shelters provided protection even from shells of the largest calibres.
Whenever possible, soldiers built caverns with multiple entrances and exits. This ensured a safe escape route if one of the exits became blocked or were taken over by the enemy.
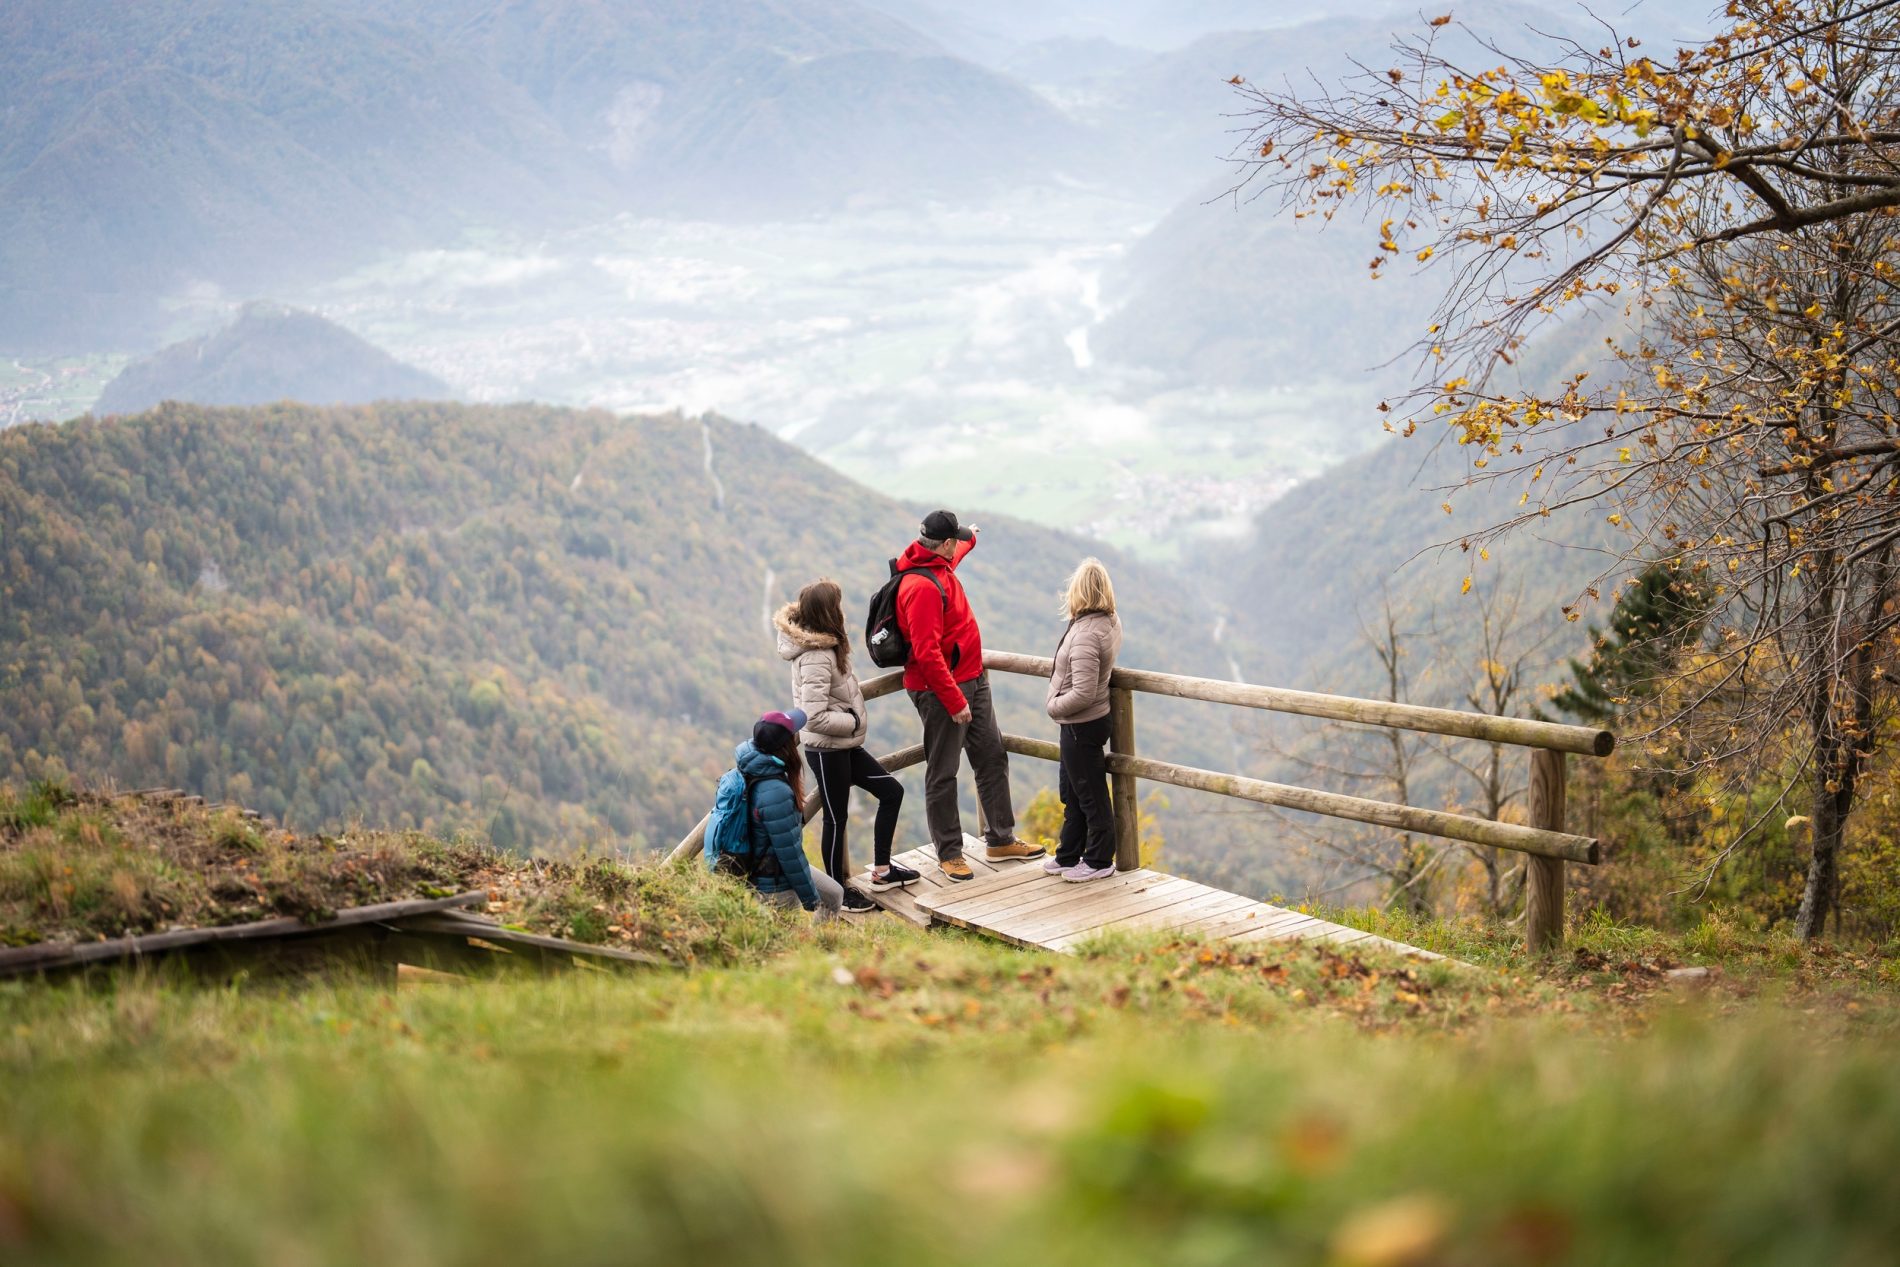
Climb the stairs. At the top of the stairs, turn left and continue to the viewpoint.
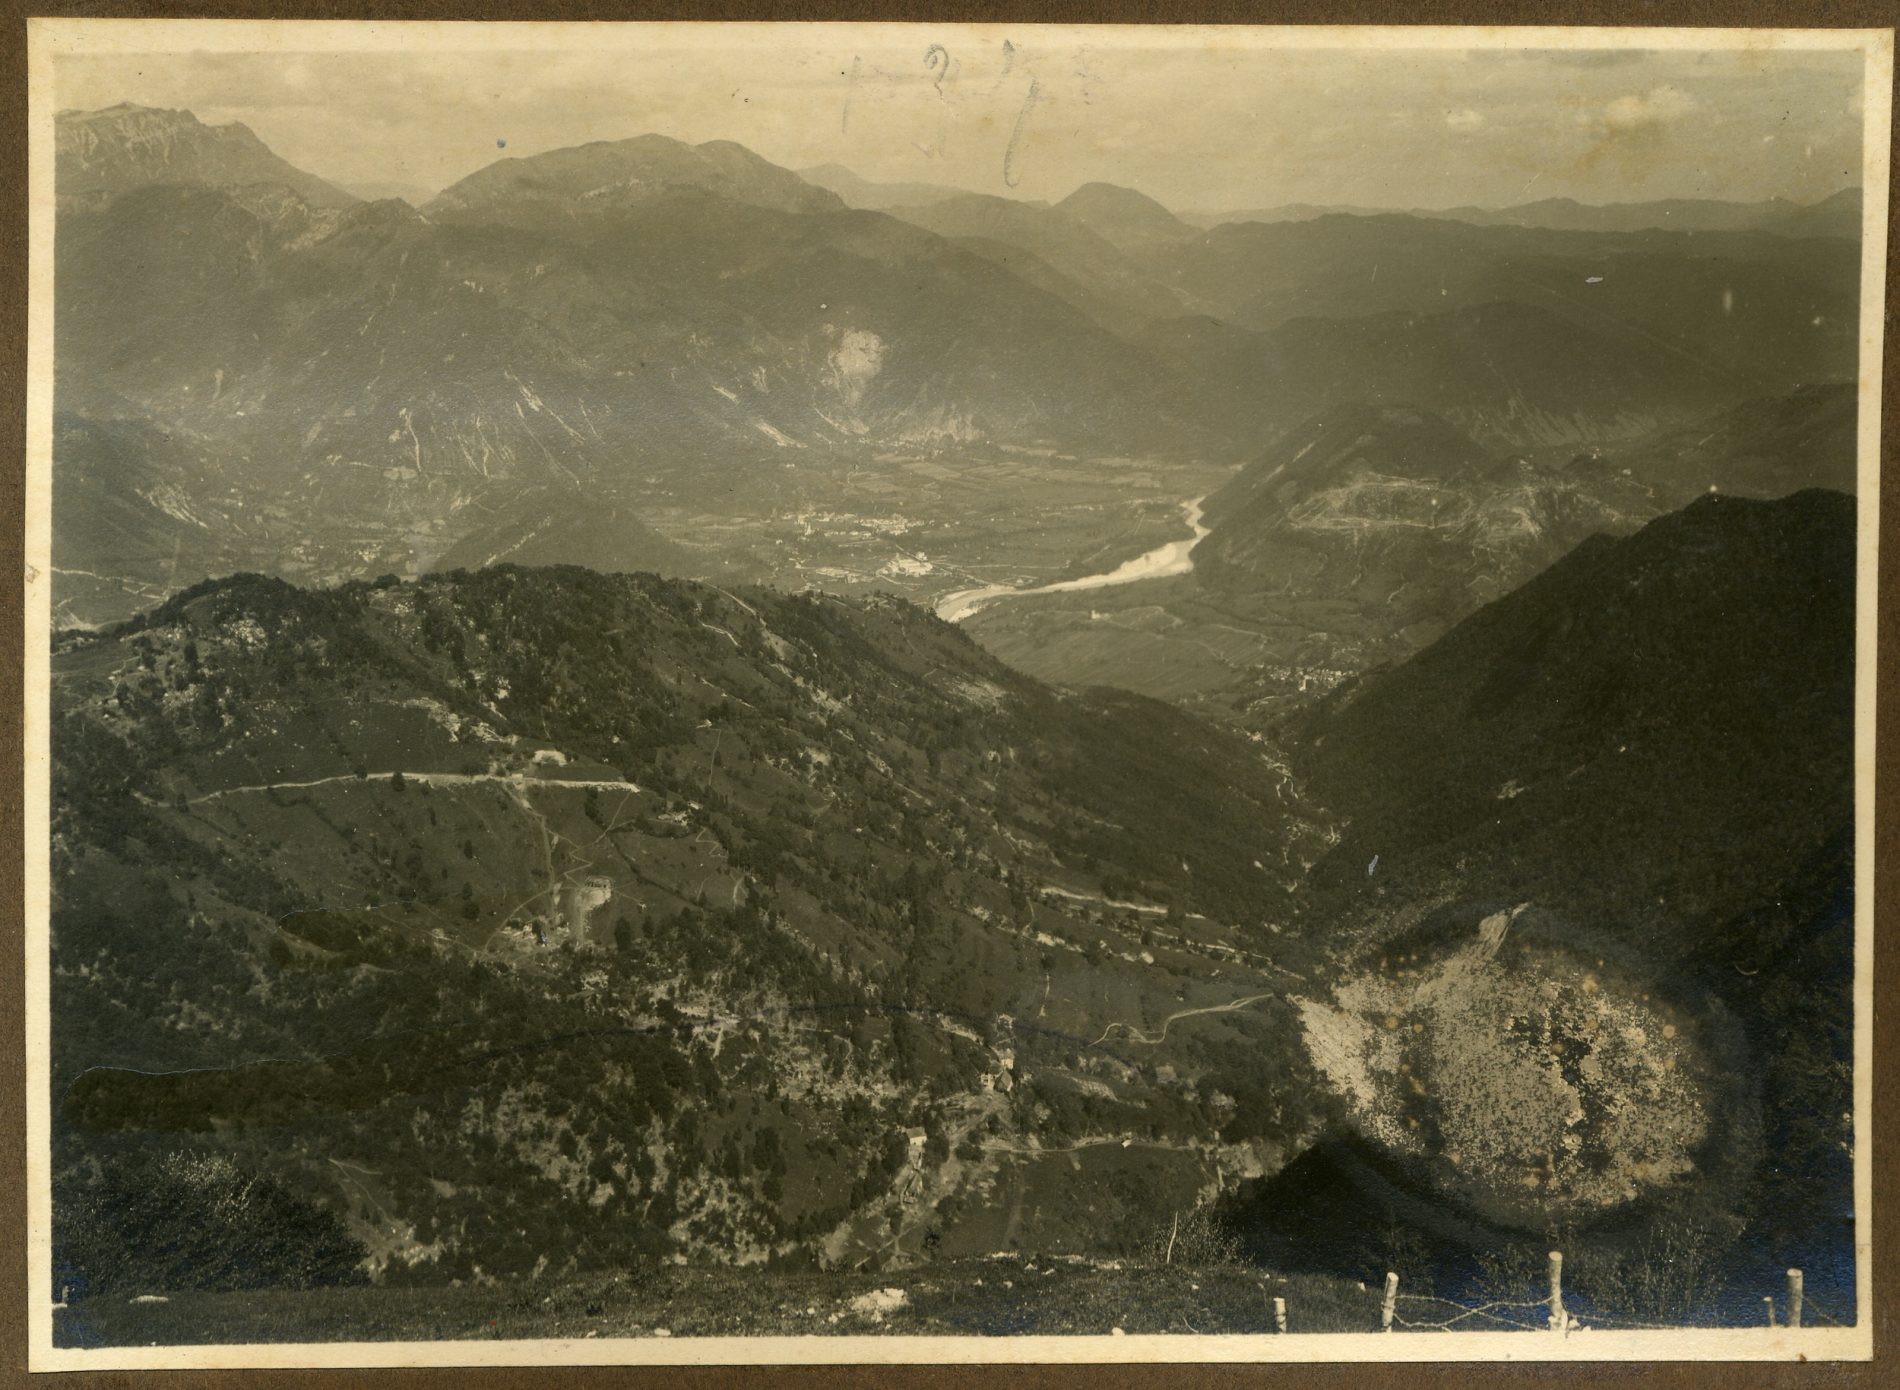
From here, a wide panorama opens over the Soča Valley and the surrounding peaks, which were part of the Isonzo Front battlefield between 1915 and 1917.
At the foot of the ridge near Tolmin lie the Volče Field and the hill of Mengore, part of the first battle line.
It was here that highly motivated German units, using elements of a new combat tactic known as “lightning warfare” (Blitzkrieg), surprised the enemy during the Twelfth Isonzo Battle.
In just two days, soldiers carrying around 30 kg of combat equipment climbed from Mengore to the top of Kolovrat, breaking through and destroying all three Italian defence lines.
Return back to the stairs and turn left into the trench. Walk through the trench, and just before the end, turn right and go uphill.
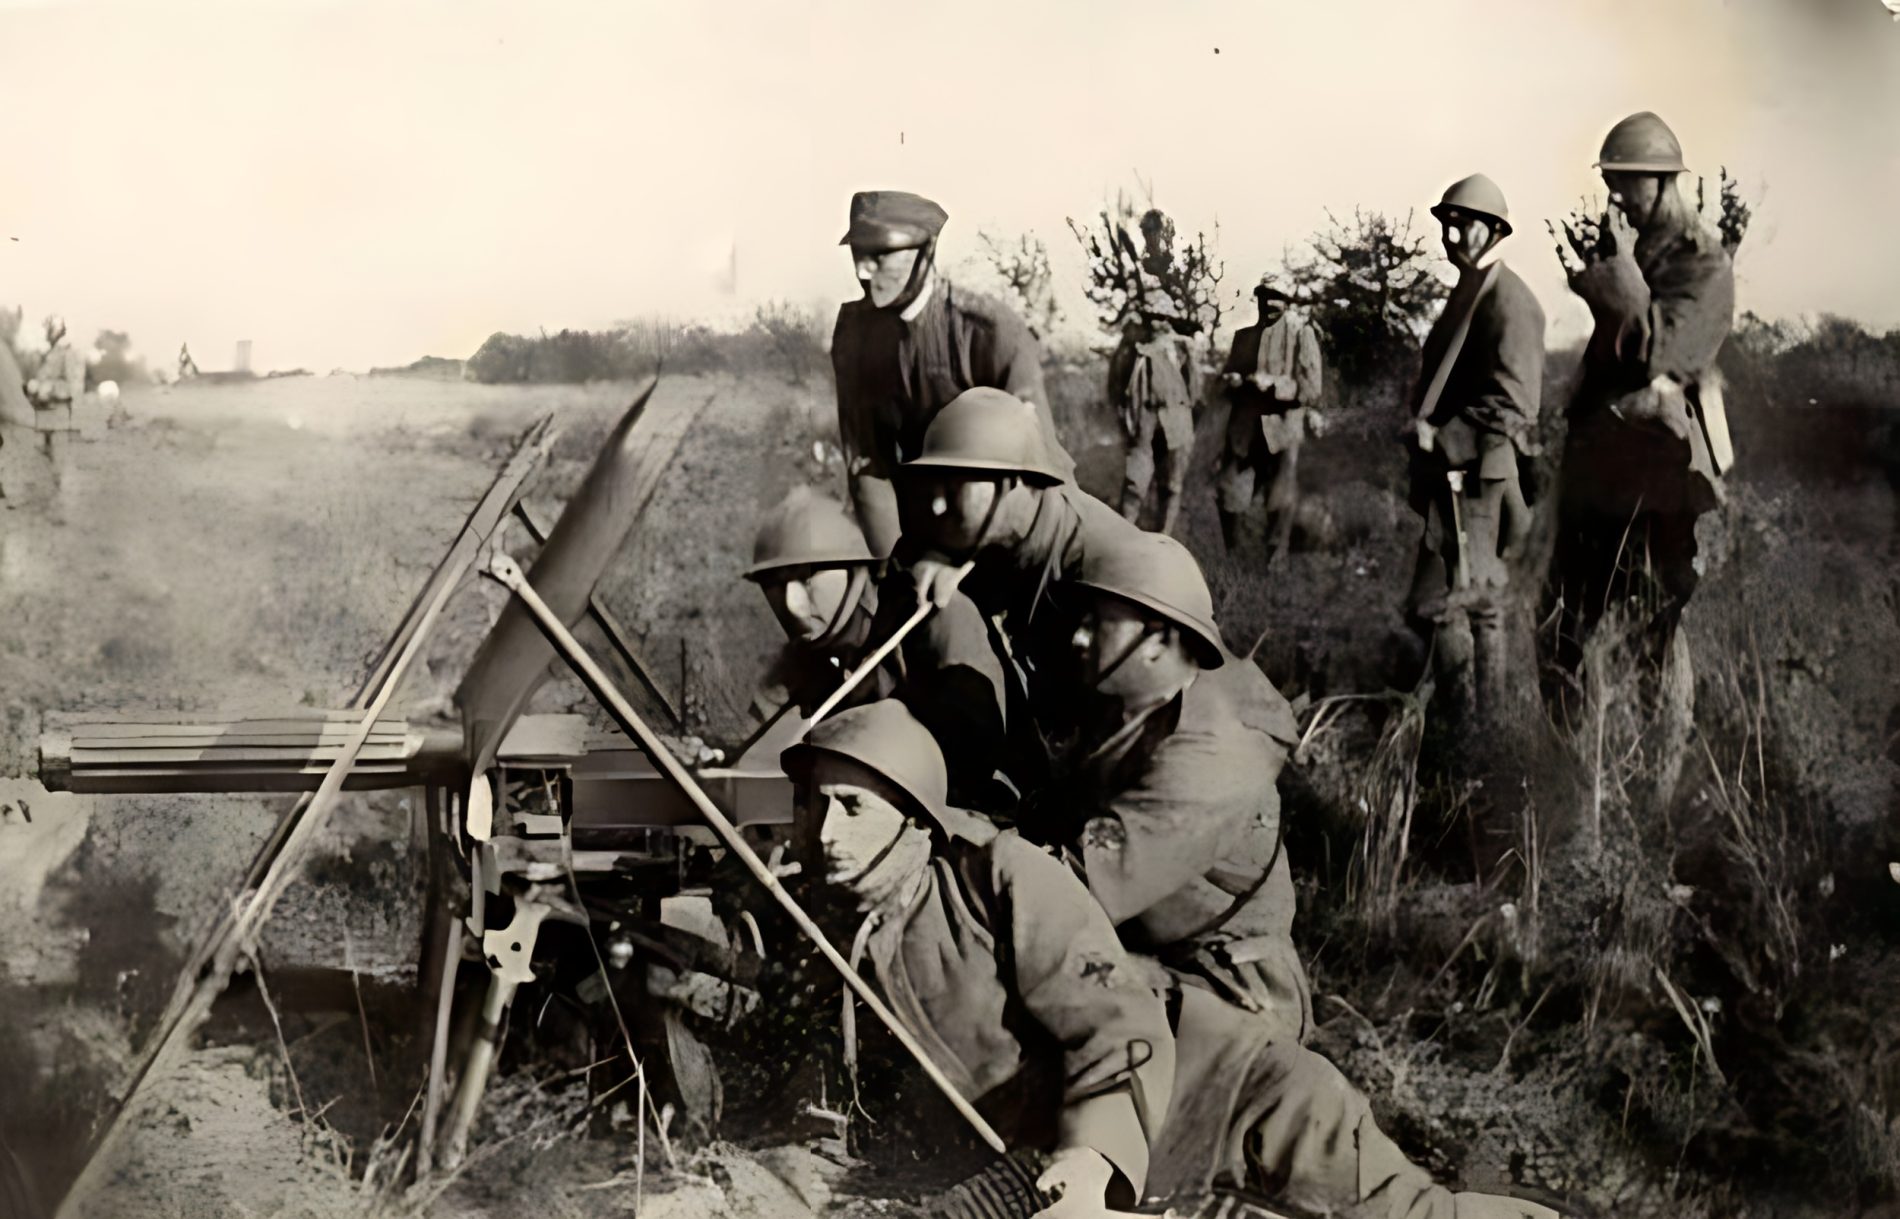
From this protected position, the units controlled the access to the ridge.
Alongside artillery, machine guns caused the highest number of casualties during the war.
The placement of the machine gun was of strategic importance, as its firepower could completely halt an enemy attack.
With a well-chosen position and a firing rate of up to 650 rounds per minute, a machine gun could replace a unit of 80 soldiers.
After a few steps, turn right and climb the wooden stairs. Continue straight along the path to the ridge summit, which you can see directly ahead of you.
The ridge summit offered a strategic overview of the entire ridge and the rear areas.
When German troops occupied the peak of Na Gradu (1,114 m) and gained a view over the Iudrio/Idrija Valley, the Natisone/Nadiža Valley, and the Friulian Plain, thereby achieving the first objective of the joint German–Austro-Hungarian offensive.
To the west, the ridge rises towards the summit of Kuk (1,243 m), then descends to Livek. The entire area was crisscrossed by more than 20 km of trenches belonging to the third defence line. Shell craters still bear witness today to the intensity of the fighting during the Twelfth Isonzo Battle.
From Livek, the slope rises again and gradually leads westward to Mt. Matajur (1,642 m), which was occupied during the Twelfth Isonzo Battle by a German unit under the command of Lieutenant Erwin Rommel. The fall of Mt. Matajur, the advance through the valley from Tolmin to Kobarid and onward toward the west, and the occupation of the surrounding hills enabled German and Austro-Hungarian troops to penetrate the Friuli Plain. On the fourth day of the offensive, the attackers occupied the town of Udine, then continued their advance toward the Tagliamento River, where they encountered the first serious attempts to halt their advance, partly due to destroyed bridges. After crossing the Tagliamento, they continued their advance all the way to the Piave, where the advance came to a halt.
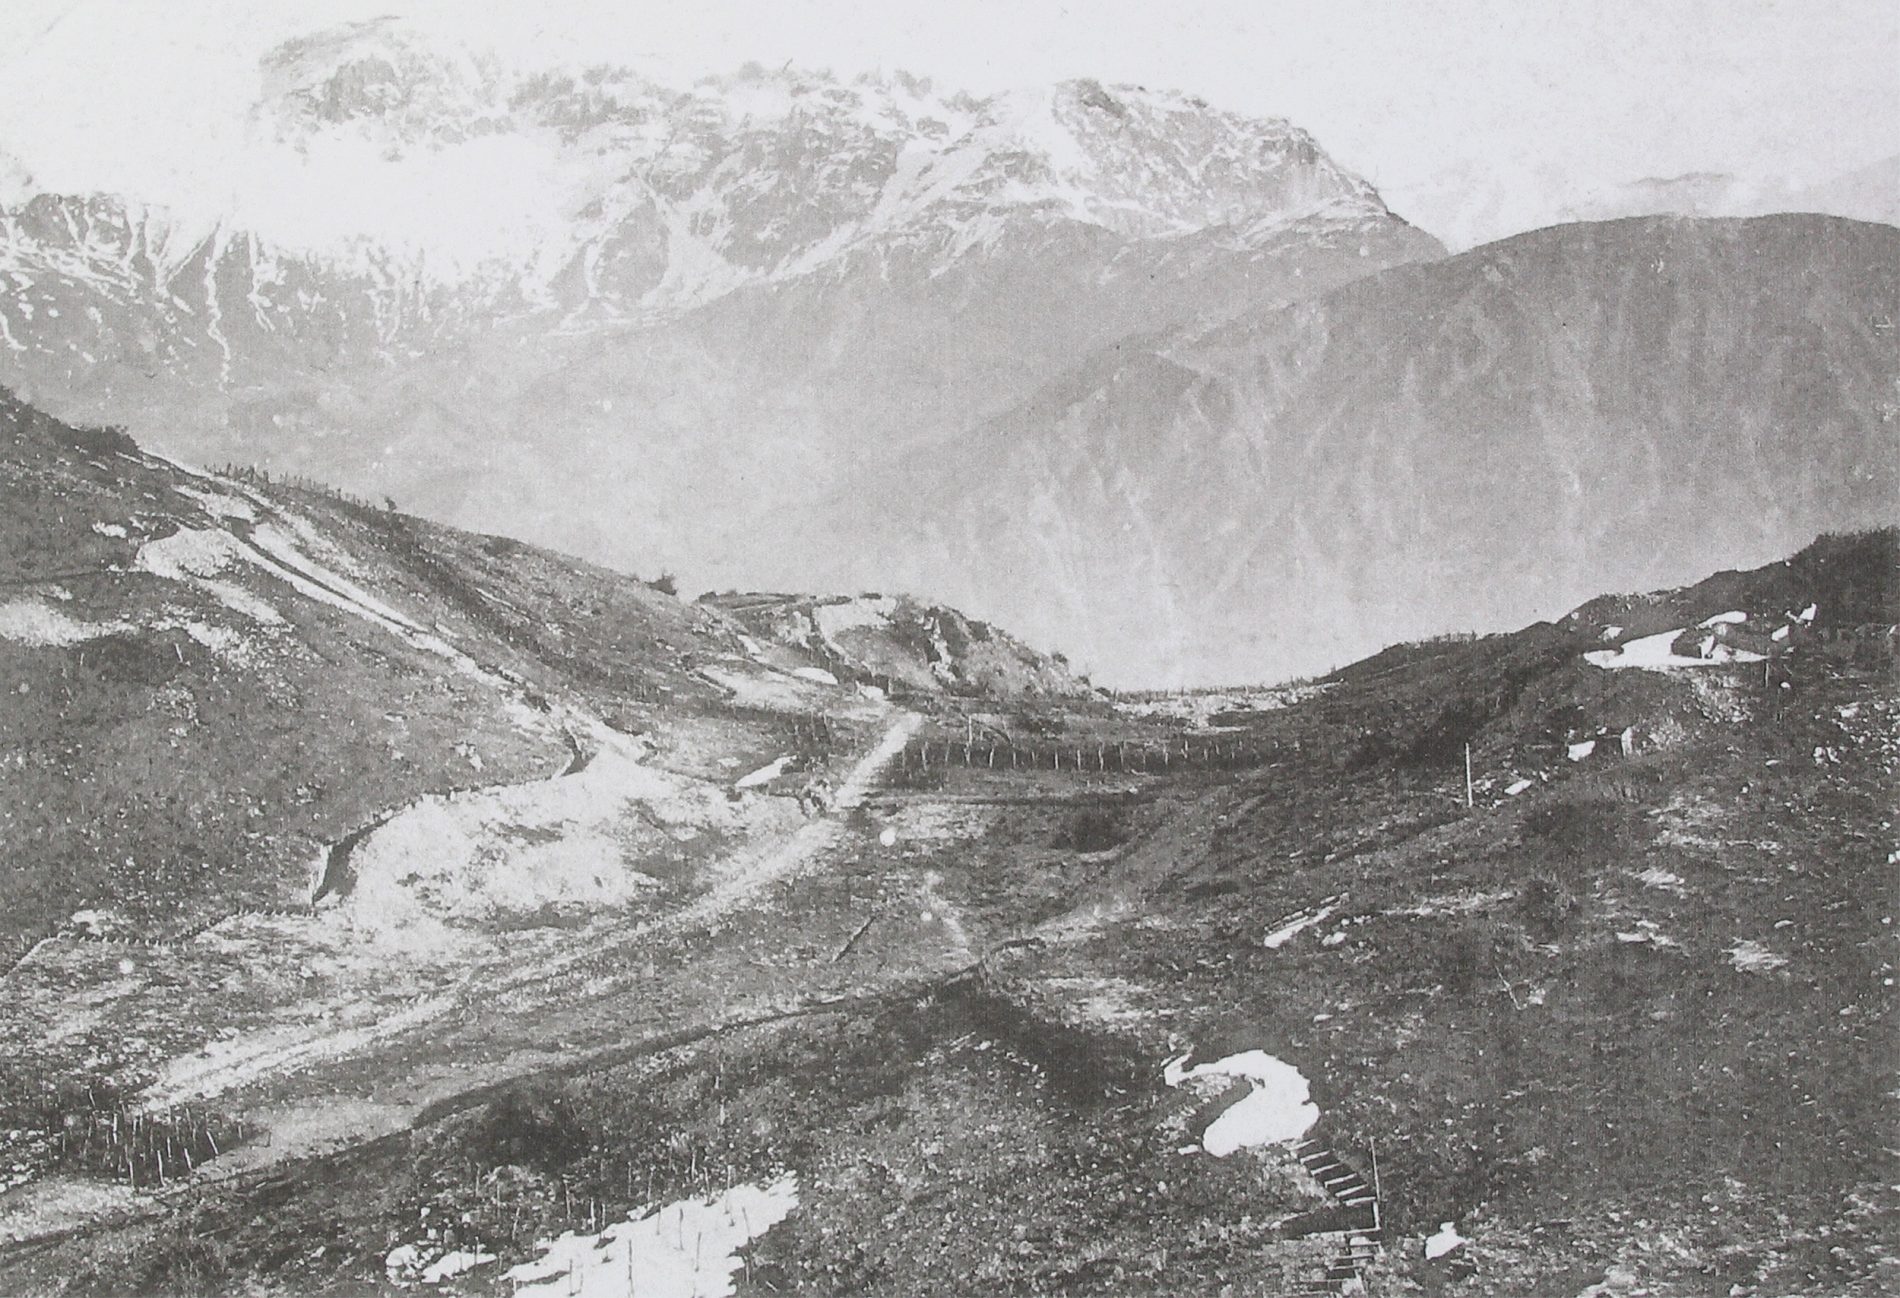

Head right past the border stone and descend along the path (towards Trinški vrh). Continue down the stairs, then at the junction turn right into the trench.
The design of trenches protected soldiers from explosions and direct fire.
Where terrain allowed, communication trenches and front-line trenches were dug in a zigzag pattern. These “broken” trenches provided greater safety for soldiers.
During artillery bombardments or close combat, the trench increased the chances of survival – a soldier inside could remain hidden behind a corner, which absorbed the force of explosions and flying fragments of shells.
After eleven Italian offensives, the Austro-Hungarian Army, with the help of German reinforcements, successfully launched a counteroffensive that ended the fighting along the 90-kilometre-long Isonzo Front after 29 months of battles. The final offensive brought peace to the Soča Valley and the Karst Region, while fighting in Italy continued for another year.
The Isonzo Front caused more than one million casualties and left behind an immense destruction.
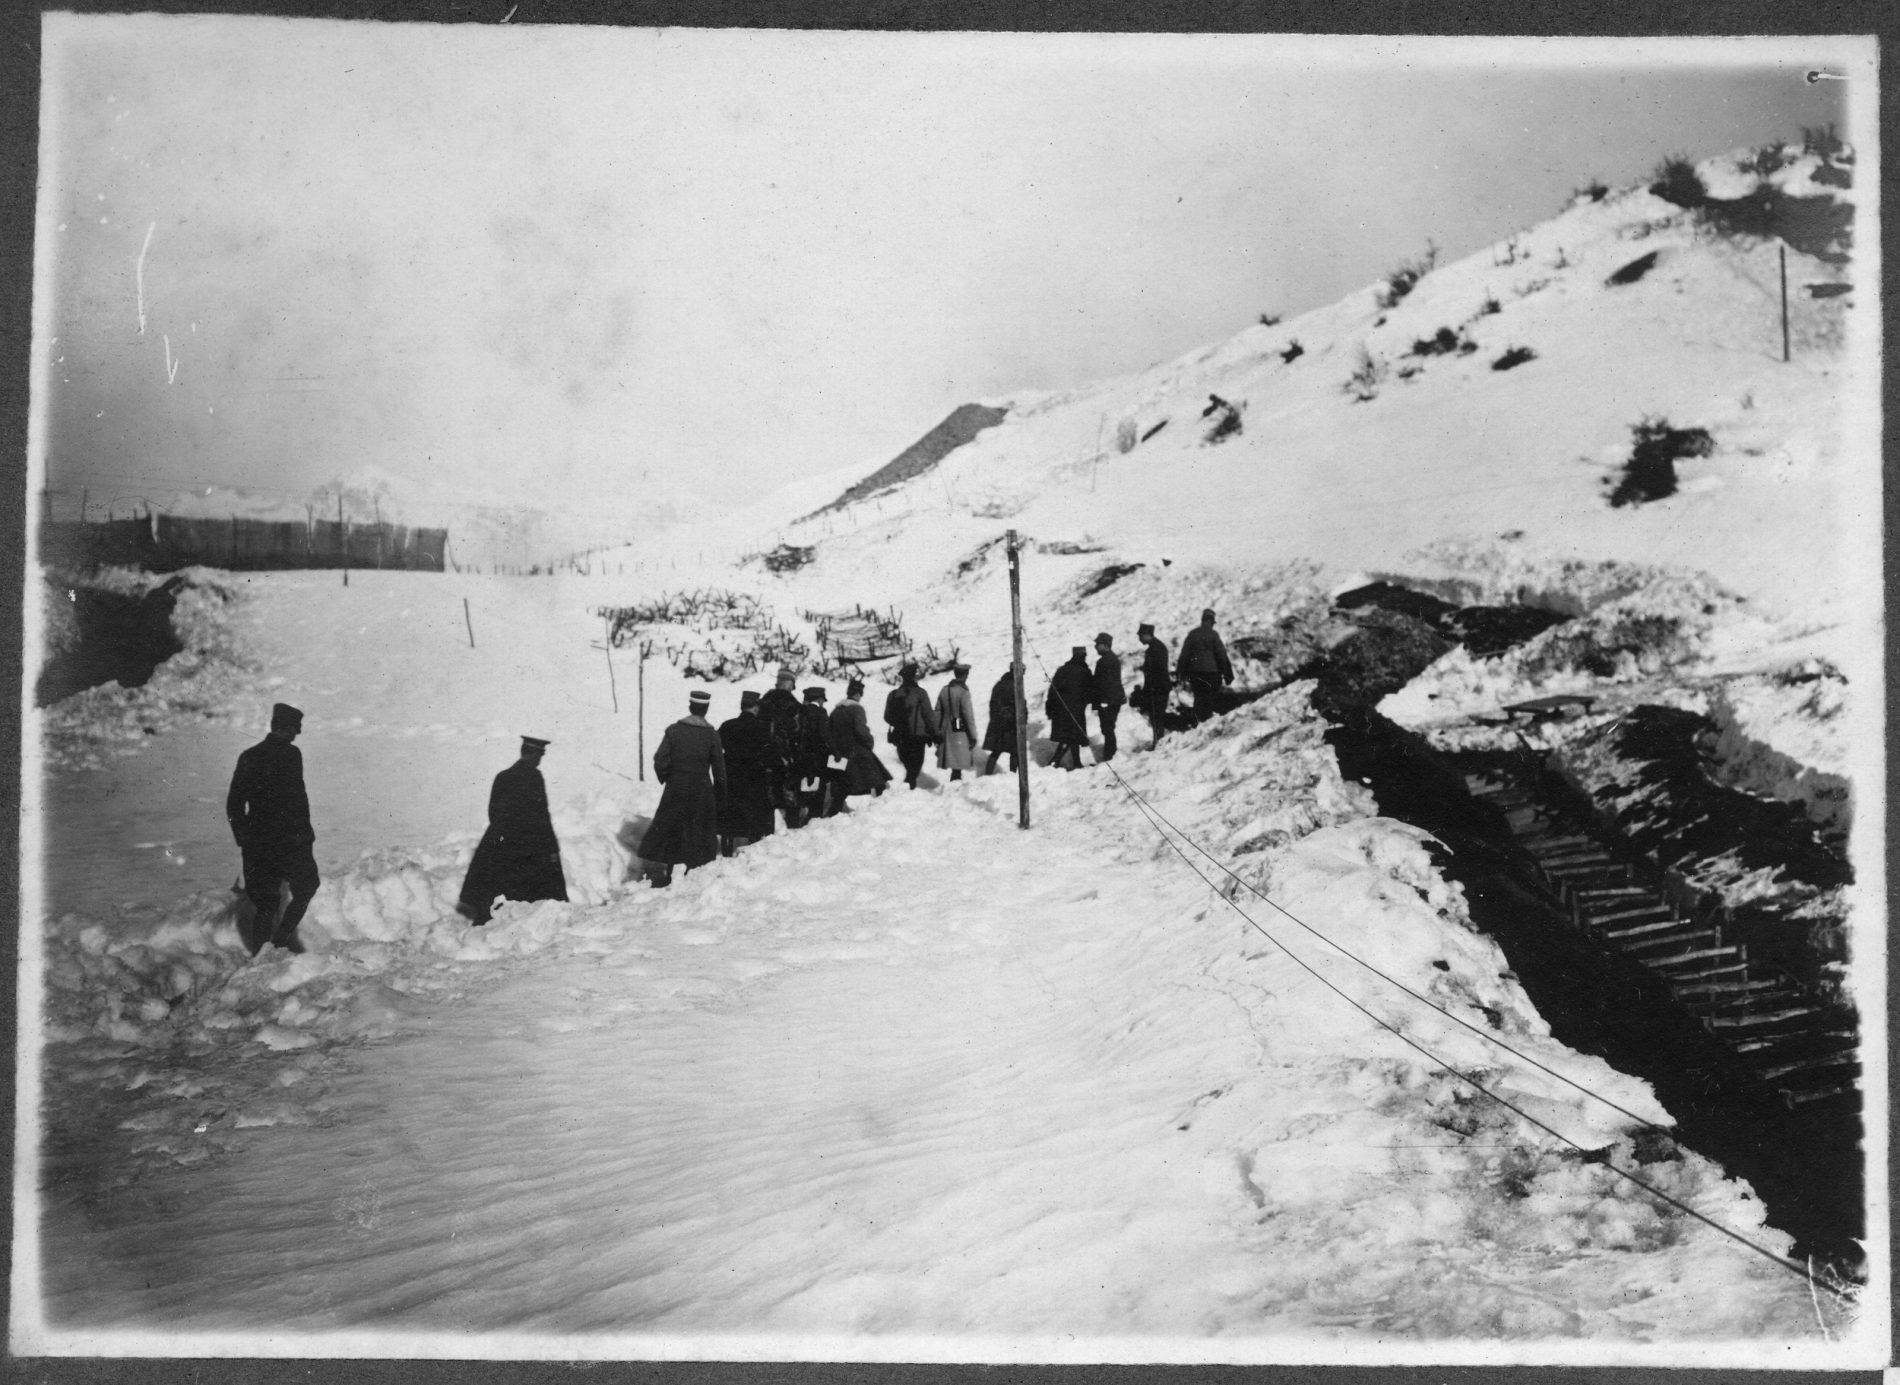
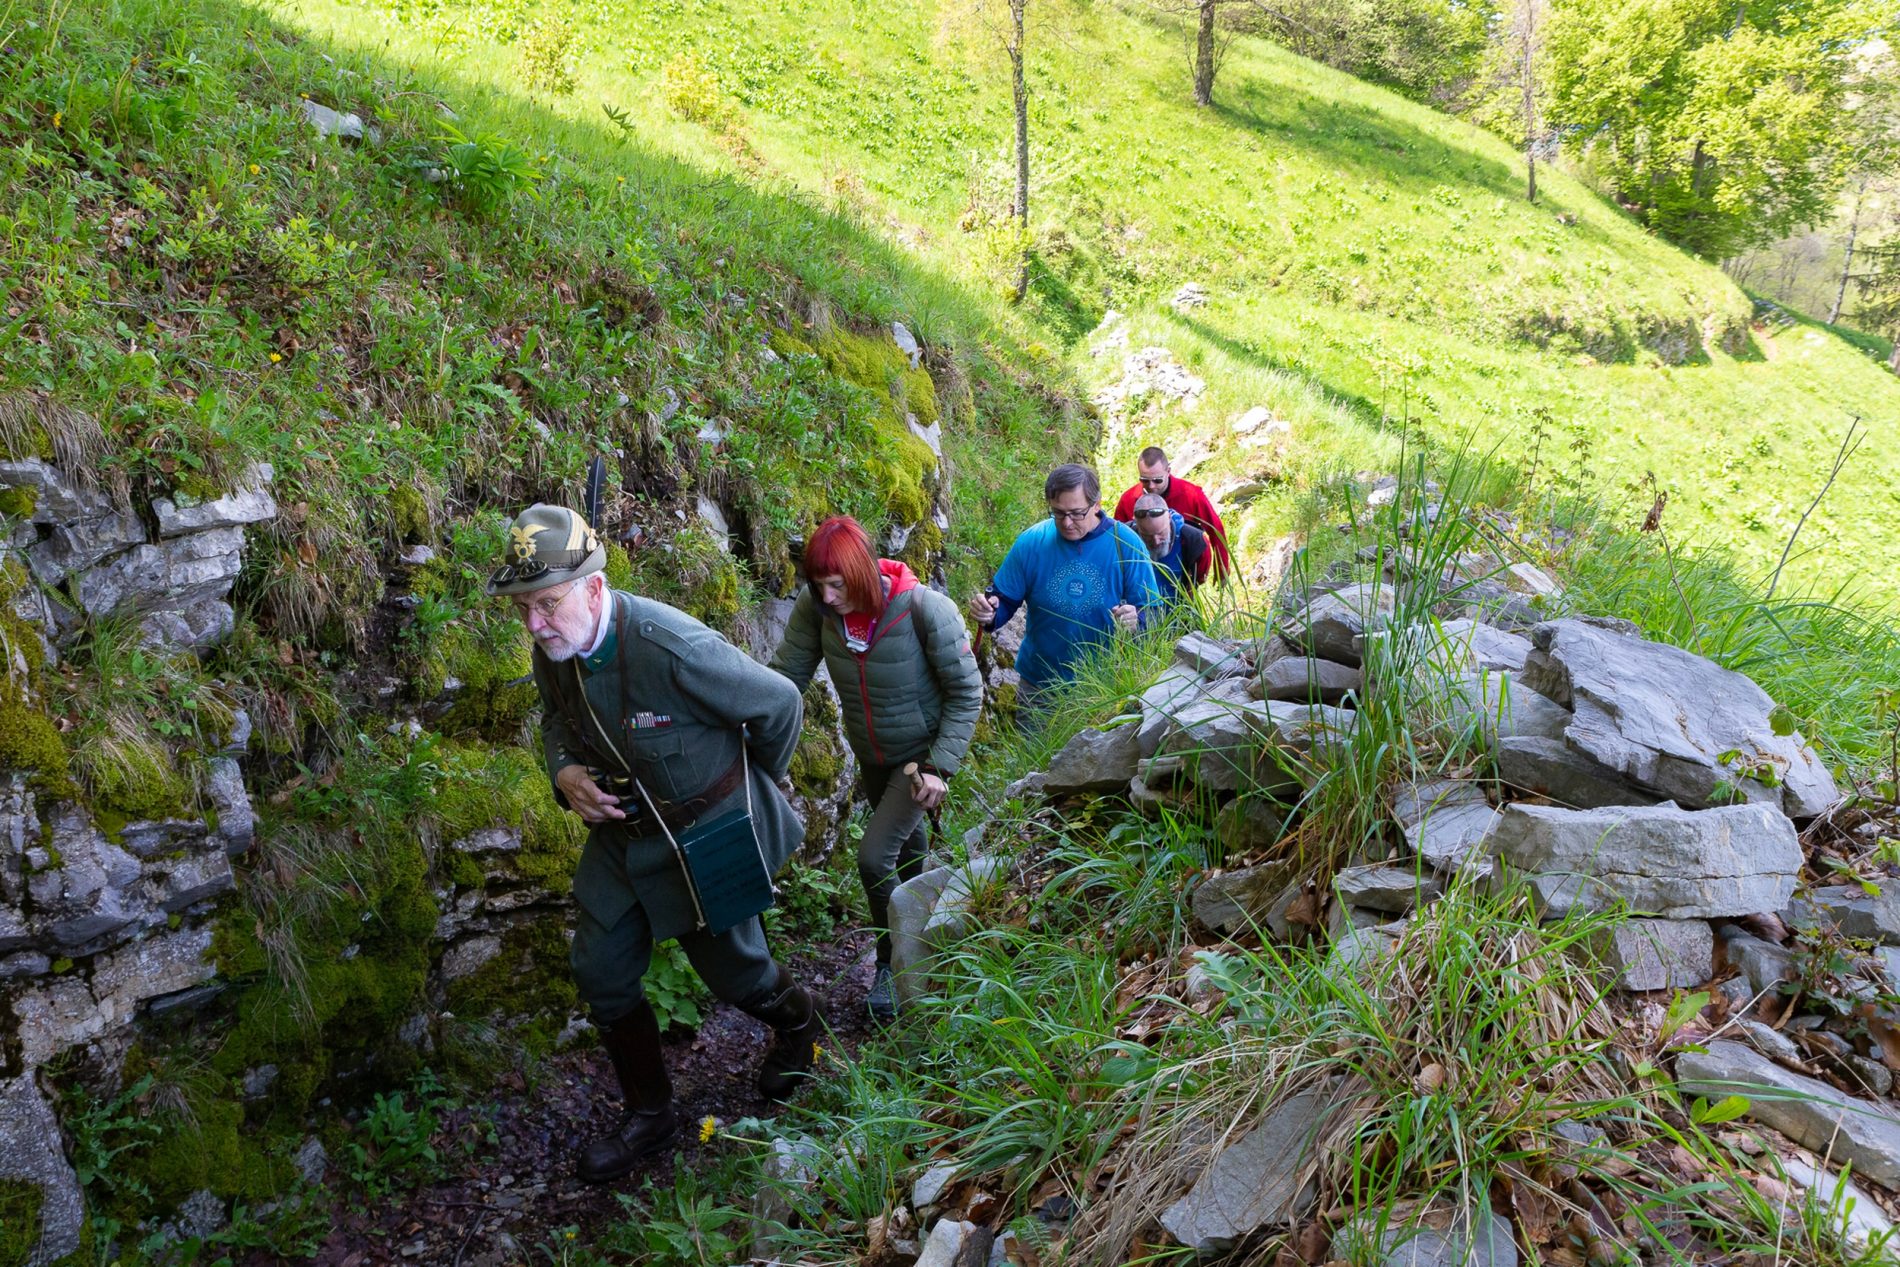
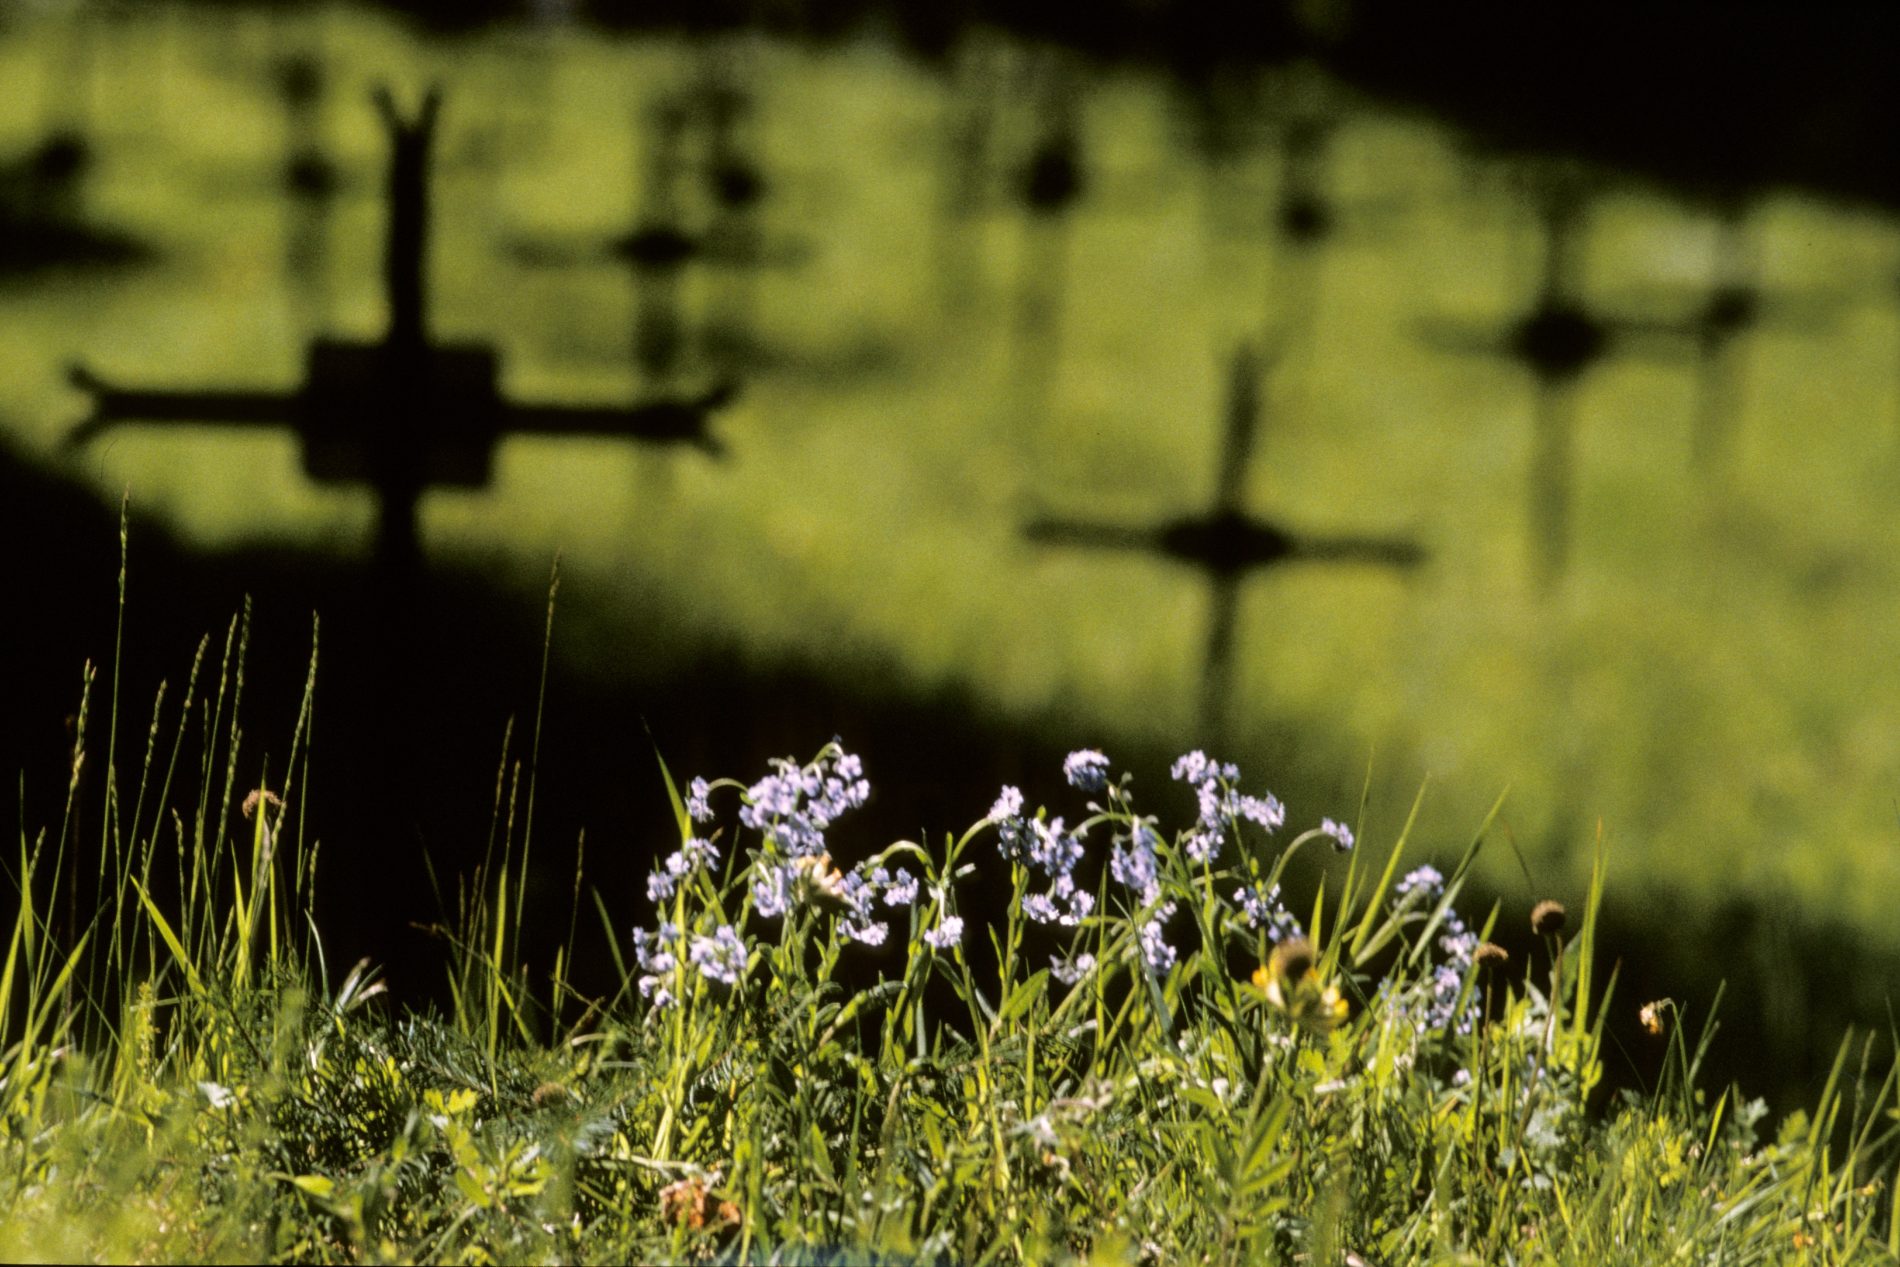
At the end of the open trench descend the stairs on the left all the way to the end and follow the signs leading you to the final interpretive point.
Although World War I ended in 1918, leaving severe consequences, it did not bring lasting peace. Tensions in Europe continued to rise and eventually led to a new global conflict, which broke out in 1939 as World War II.
Here are visible the remains of a border guard station. After the end of World War II, in 1947, Yugoslavia built a network of small military posts along its borders with neighbouring countries, called karavle (border guard stations). Their purpose was to defend the border and prevent illegal crossings. The border station on Kolovrat, typically staffed by around 25 soldiers, operated until 1974.
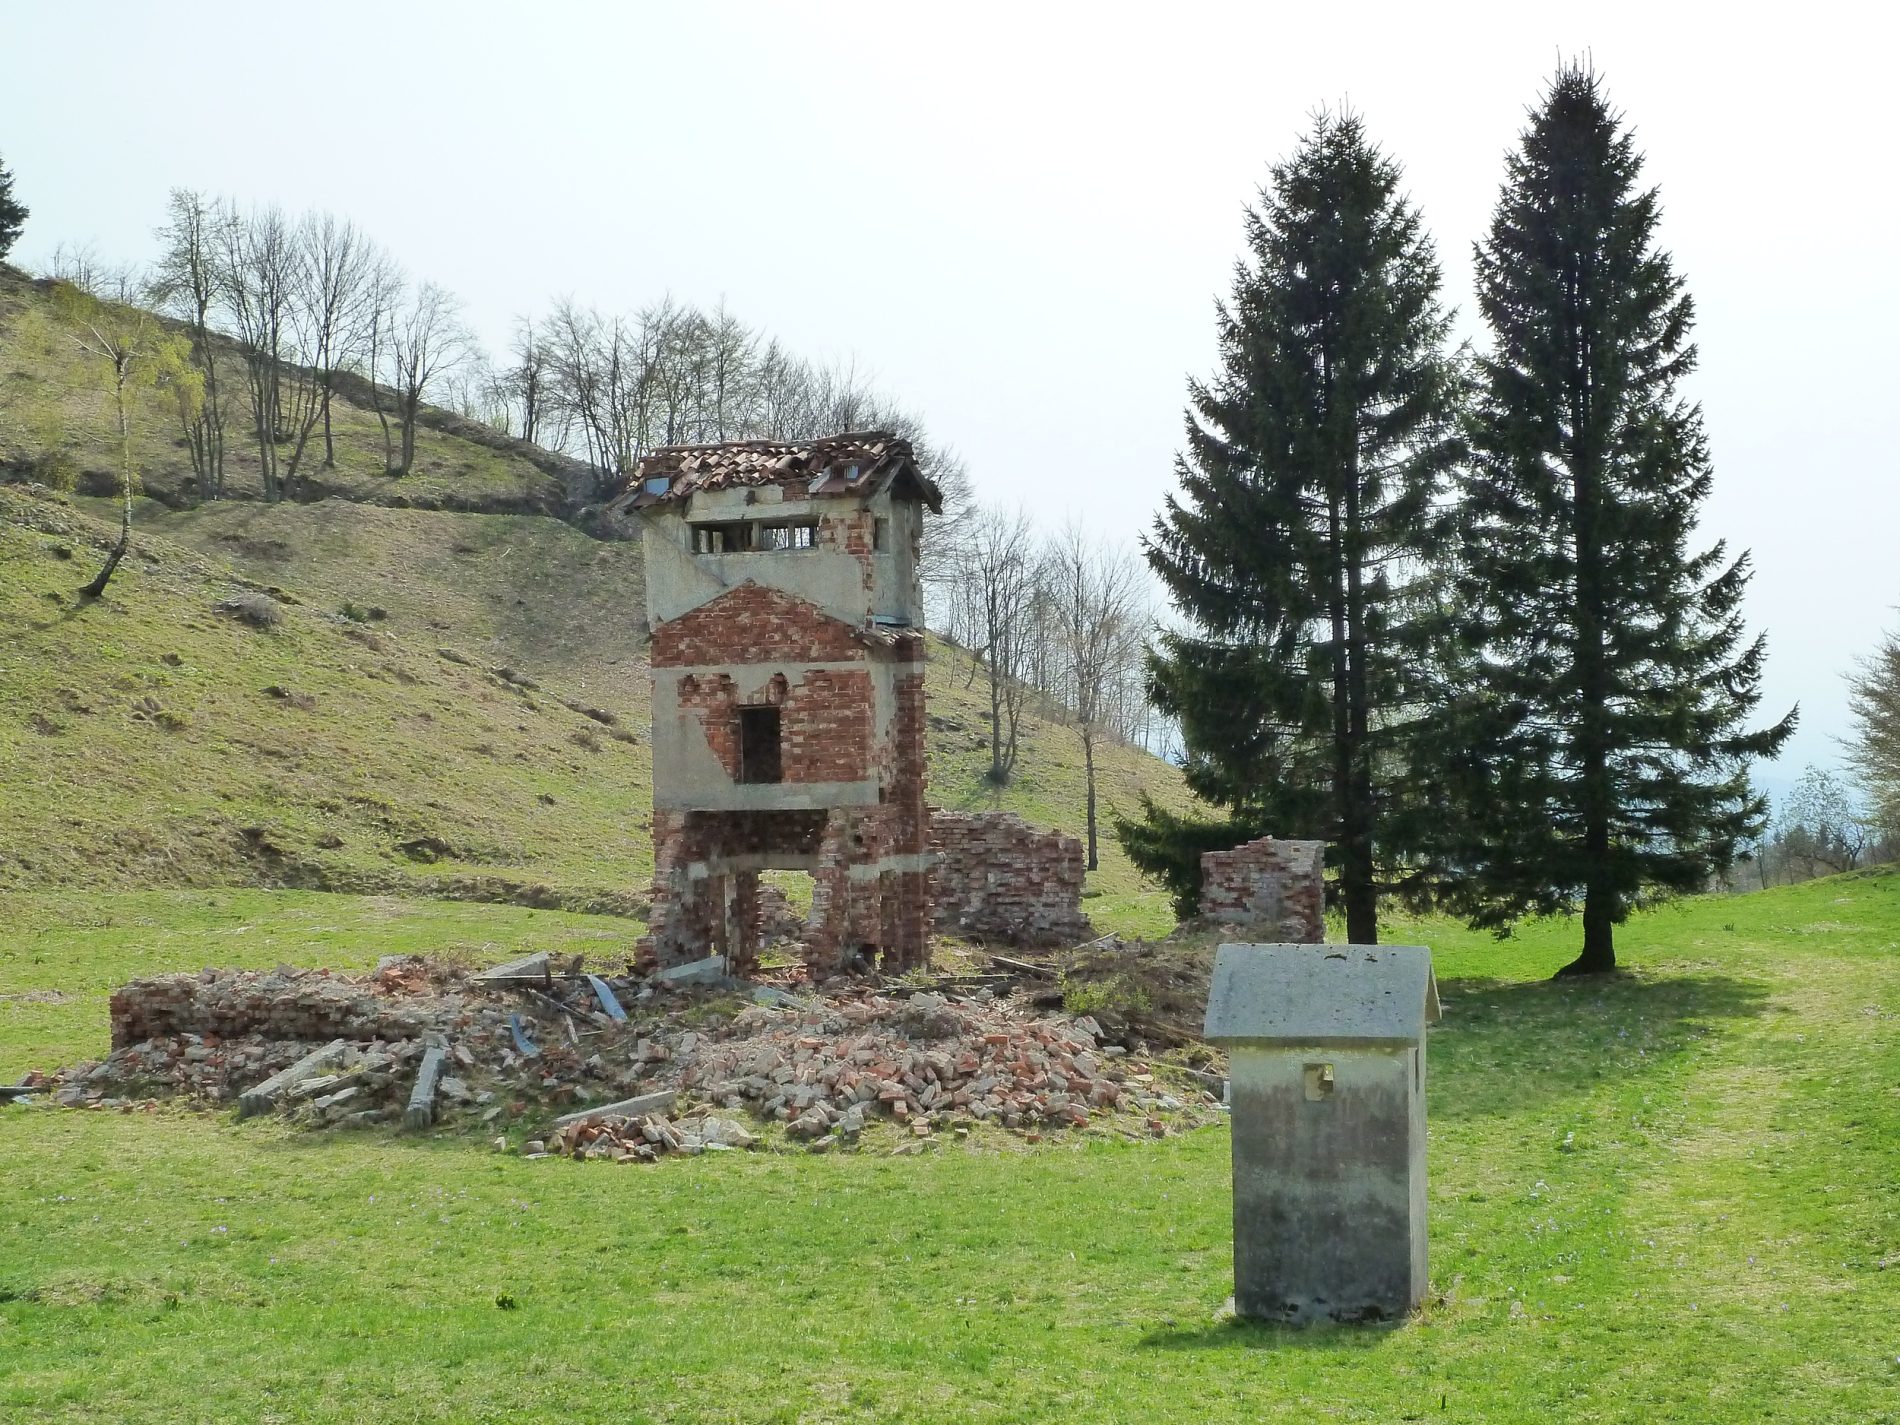
Return along the path towards the starting point. Just before reaching the Info Point, you can turn left to Trinški vrh and extend your exploration.
Today, the heritage of the Isonzo Front is connected in the more than 500-kilometer-long cross-border Walk of Peace Trail from the Alps to the Adriatic, which includes more than 300 points in Slovenia and Italy. You can also visit other outdoor museums accompanied by guides and experience history.
Your respectful visit helps preserve a place where nature and heritage quietly tell the stories of the past. Thank you for your visit.
We offer you discounts that can be used at:
This digital guide was created by the “Fundacija Poti miru v Posočju” (The Walk of Peace Foundation) in cooperation with the Soča Valley d.o.o. Tourist Agency and the Kobariški muzej (Kobarid Museum).



Colophon: contents prepared by: Ustanova “Fundacija Poti miru v Posočju”, Kobariški muzej; conceptual design and digital support: Soča Valley d.o.o.; photo credits: Jure Batagelj, Matevž Lenarčič, Žiga Koren, Turizem Dolina Soče, Željko Cimprič, Tamino Petelinšek, Schirra & Giraldi, PromoTurismoFVG; archival photos: Kobariški muzej, Mitja Juren, Marco Mantini; panorama from Kolovrat: Damijan Leban; audio recordings and editing: Radio Primorski val; proofread: Anteja Jež; layout and design: Urška Alič, Matic Leban; website development: Lampret.net; Kobarid 2026.
Continue to the Walk of Peace from the Alps to the Adriatic website >>
Walk of Peace from the Alps to the Adriatic, A Story of War and Peace (leaflet)
The Walk of Peace from the Alps to the Adriatic, Isonzo Front 1 : 30 000 (Northern part & Southern part), Tourist map with points of historical interest


